How to Reduce Social Media Usage

We all know that social media causes a slew of mental health and societal issues:

But lucky for you, you are already an analogue shooter, or are about to be one, and we all know that shooting film means less time spent on line.

I’m going to give you 7 ways to lessen your exposure to social media.


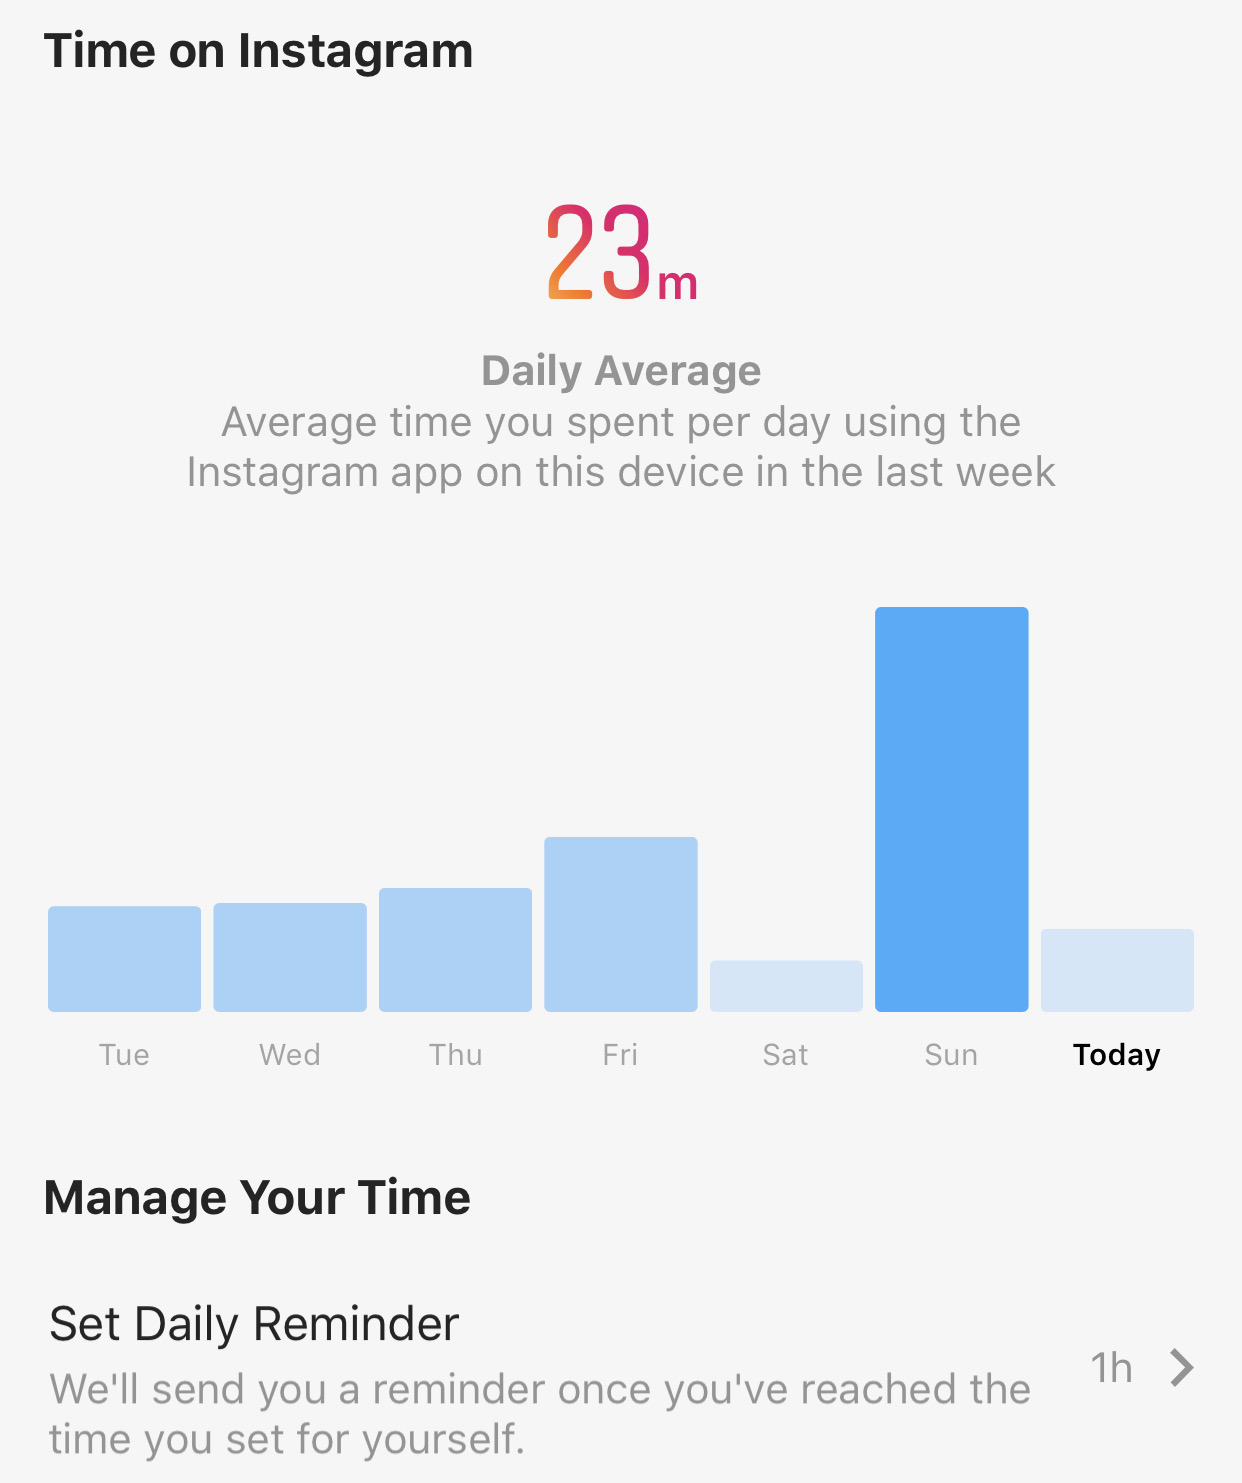
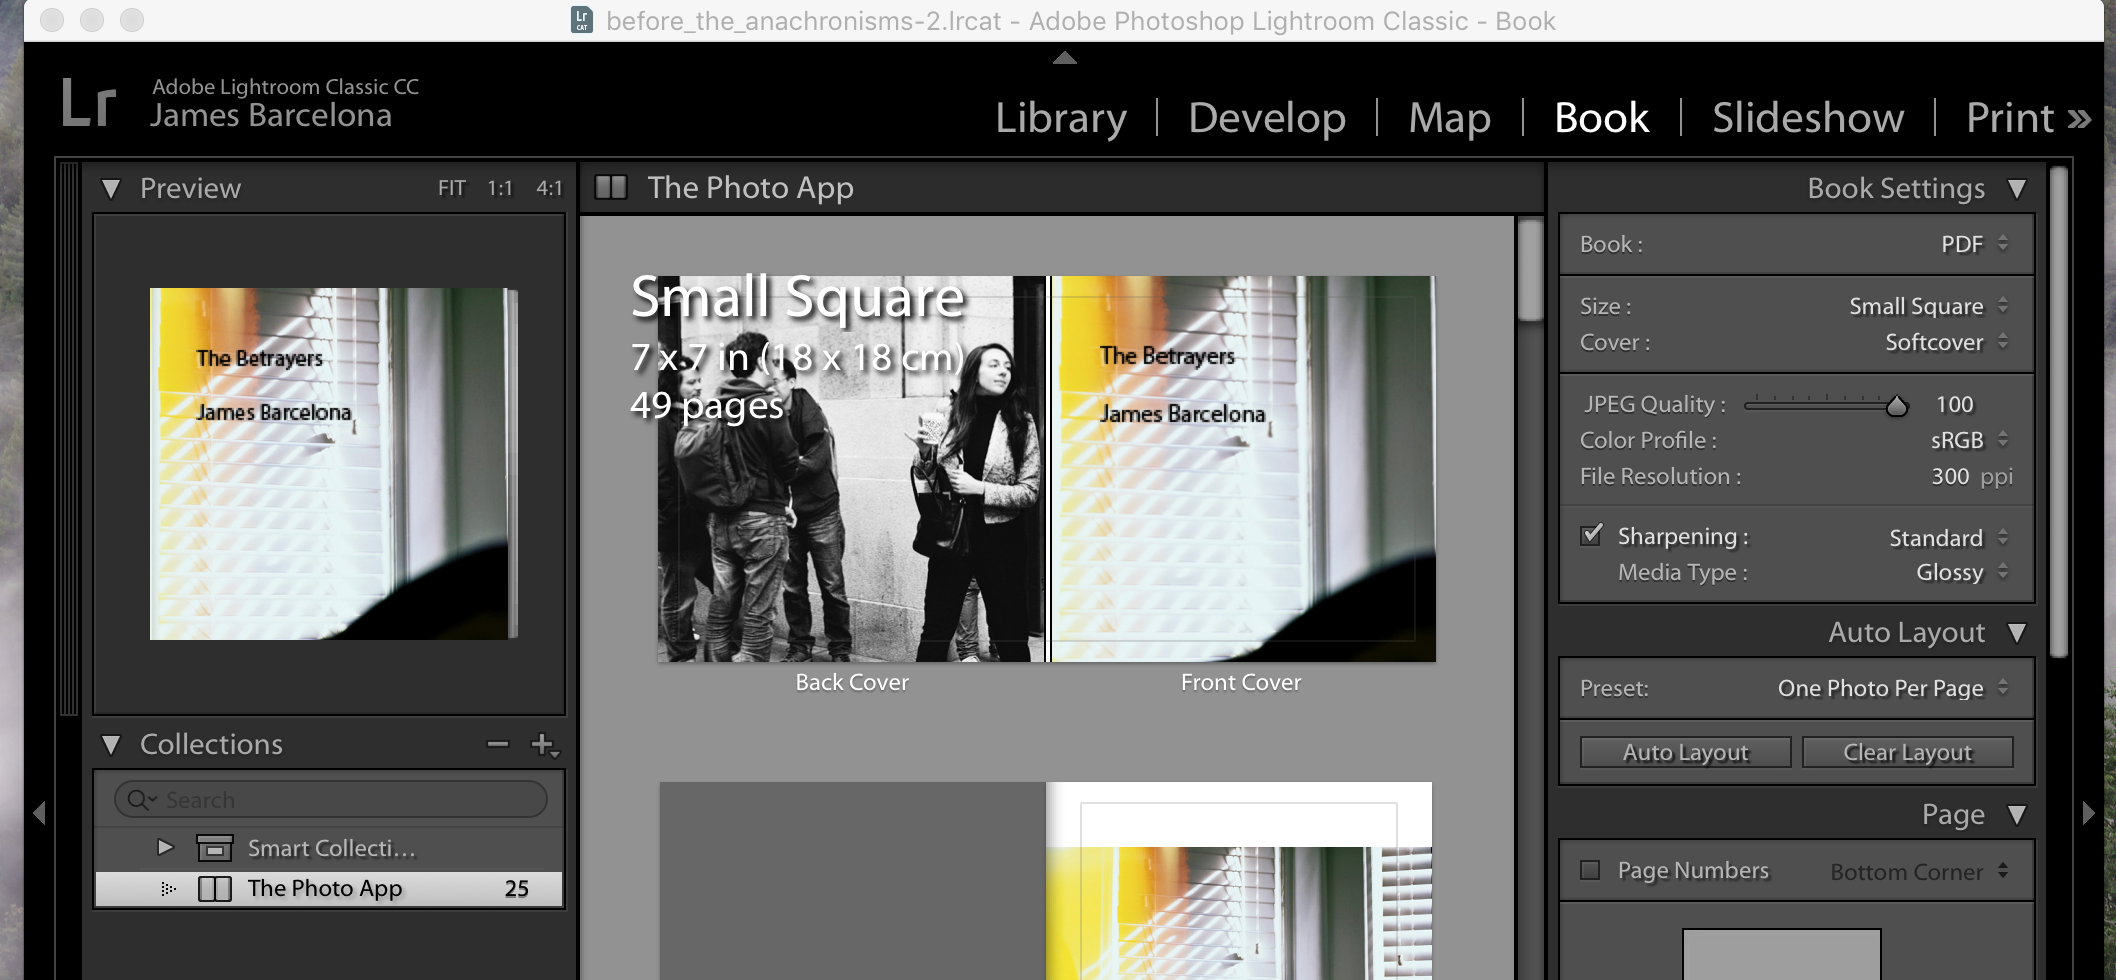
Insta option to remind you to use it less

  1. Limit your time in app. Instagram has a way to set a reminder that you’re about to, or have exceeded your time. I choose to limit my Instagramming to 1 hour a day.
  2. Let your audience know your posting time and commit to it. I let my audience know in my bio that I’m posting every weekday at 11:30am.
  3. Limit your followings. Under 150 is ideal. Figure out who isn’t engaging with you, and cut that person out of your socials.
  4. Don’t use in app chat. Send them to Twitter or website with your email, or other chat app where you know you won’t get sucked in for too long. Discord are great options.
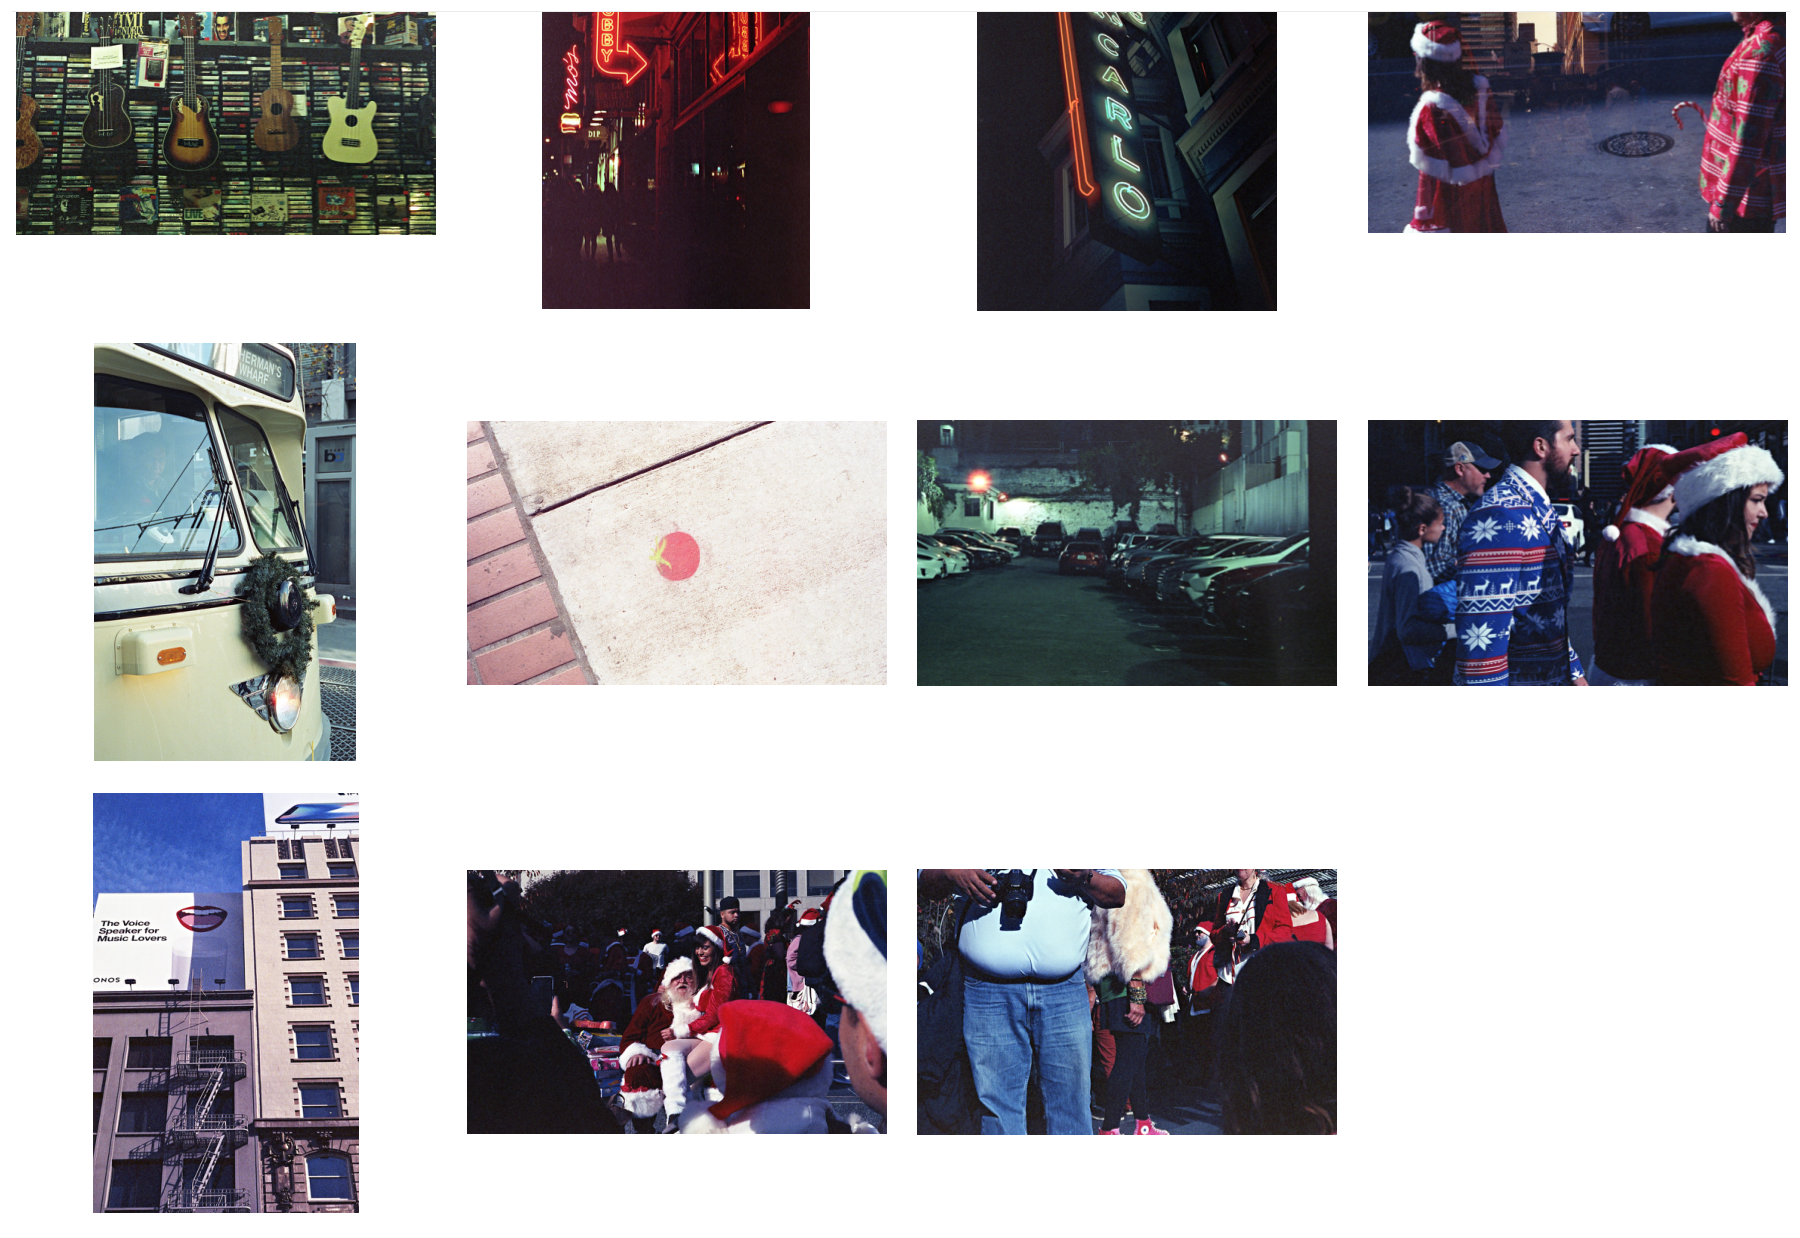
  5. If you feel like logging into the socials, go outside and shoot some film.
  6. IRL More, e.g. have more IRL conversation, use a landline or payphone (Yes, that old thing that takes coins), find a paper flyer to an event and go to it.
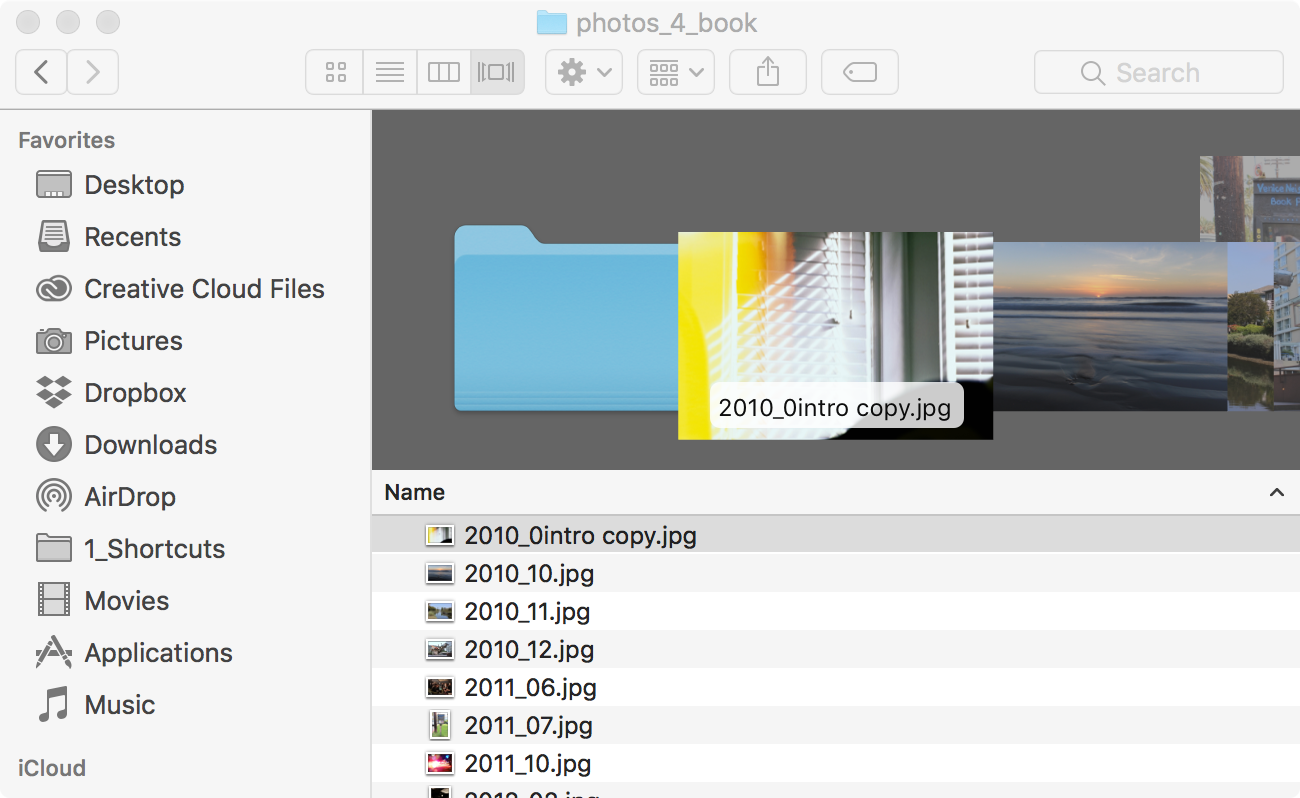
  7. The zine or the photo book should be the focus of your analogue, photographic efforts. All great work should culminate in a zine or photo book.


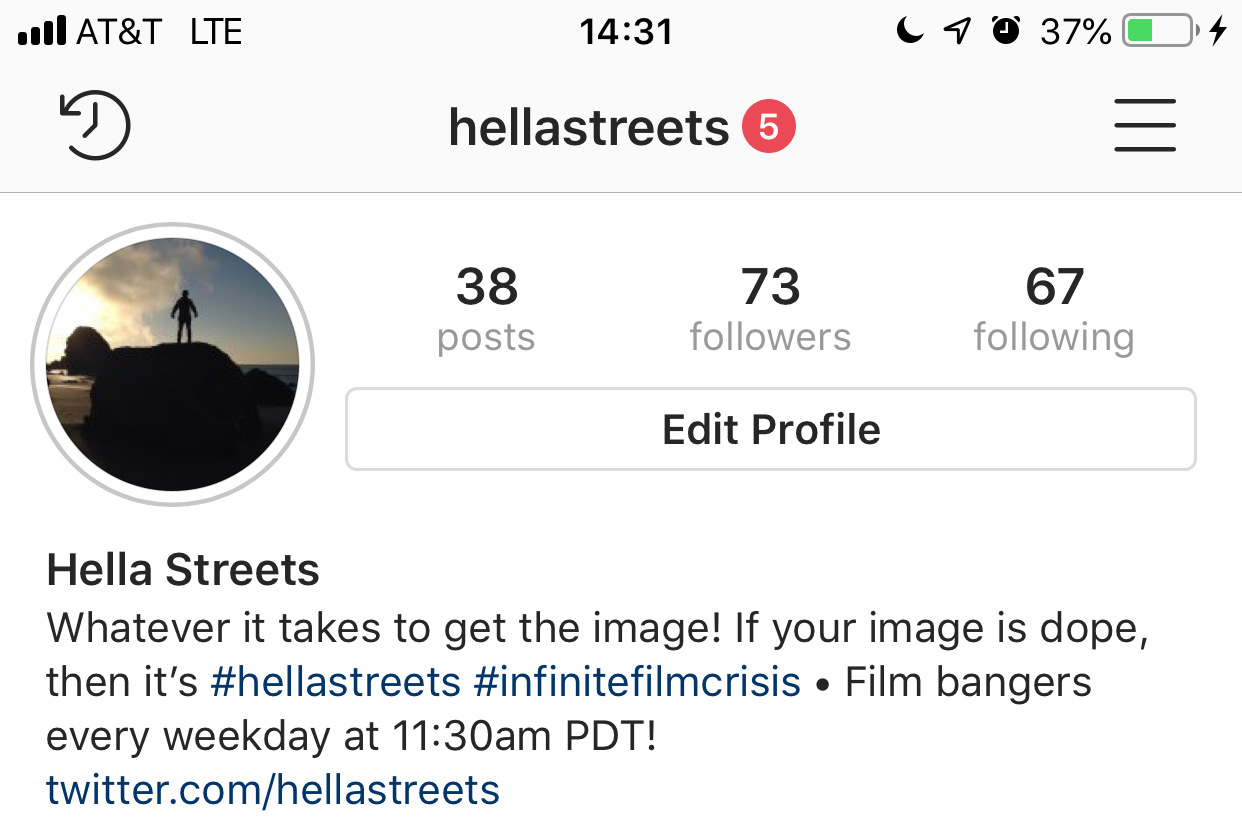
Put your posting schedule in your bio! This is true of all socials on where you post.

What did you think of this list? Am I leaving anything out for lowering your social media usage for better health and more happiness? Let me know in the comments below.

How to Create a Photography Book in LightRoom

I just finished creating a photography book using LightRoom. You can find it on blurb. (Update on 2/28/2018: Blurb removes your book if it doesn’t get ordered. I’ve placed my book on Big Cartel for sale.) It’s about friendship and betrayal on social media.

Anyway, someone on Instagram (@mh.elemental) asked me about how I went creating this book, so I will go into detail about it here.

Step 1. Take lots of photos.

Step 2. Select the photos you want to use. Some people print out their photos as 4×5 prints. This is what Joe Aguirre does according to this excellent interview on YouTube by Eric Kim. Parts 1 and 2 are worth watching.

I chose photos of an autobiographical sort: my life in LA, moving to San Francisco, the alienation of life that centers around social media.

Step 3. Sequence your photos. Joe Aguirre likens sequencing to creating a string of pearls. Edward Weston sequenced his “American Photographs” to show first what people thought photography was (to show are best fake selves) versus what it could really do (to show us who we really are – warts and all).

My book was easy to sequence: I did it chronologically.

Step 4. Import your sequence into LightRoom. Click on the “Book” module on the top right.

Ted Viera goes into detail in this excellent YouTube video on what options are available in LightRoom for creating your book.

Step 5. After adding the text, title, and other pieces of copy, and after formatting your book, you can export it as a PDF for printing, or you can upload it to Blurb for sale. On Blurb, you can sell your photos as both a physical, hardcopy book, or a PDF.

I hope this guide helps you out.

Happy Shooting!

Beeronol: Developing Ilford FP4 film in beer

I’m experimenting with different ways of developing film, e.g. stand development. This weekend I developed black and white film using beer. The mix I used was from Peta Pixel and is called beeronol.

The ingredients for the beeronol I made are:

  • 50cl of Guinness stout,
  • 12g of Vitamin C crushed into powder, and
  • 50g of washing soda (I baked baking soda at 400F for one hour to turn it into washing soda).

Develop the film in this soup at 86F for 15 minutes. Agitate for the first 30 seconds and 5 seconds every minute until done. Stop & fix as you’d normally do.

I found the results to be interesting. The beer turned the grain in Ilford FP4+ ISO 125 into irregular shapes, and the grain was larger. Some frames became foggy. Many frames displayed some sort of bromide drag. Some frames were flat and others super contrasty.

In the example below you can see 8 bands of bromide drag.

8 bands of bromide drag (Leica M-A, Summicron 50mm, f/16, 1/125, Ilford FP4+ ISO 125)

Here’s an example of fogging with bromide drag, too.

Fogging and bromide drag

Here’s an example that came out okay. If you zoom in, the grains are highly irregular, large and spotty. I suspect this might have something to do with the beer bubbles. There’s bromide drag in the bottom left.

Some bromide drag, irregular and big grains

Beeronol is expensive to make. 2 bottles of Guinness Stout (25cl) is already $4 versus sixteen cents ($0.16) per teaspoon of Rodinal per roll of film. If I wanted to make a photo look like it was from long ago, the irregularities with bromide drag, fog, and graininess make this a good choice.

Chasing Fog in the San Francisco Bay Area

Enough folks have asked me how I chase fog shots that I’ve added useful tools / links I use to chase fog.

1) Is the government saying there will be morning fog? Check here first!

2) SFO Aviation data: If it’s good enough for our planes, then it’s good enough for you. Look for “Ceiling” in the forecast. If it’s 800 feet or below, then there’s a good chance of low fog. There might not be fog, but if there is it will be low. I got a shot with a 900 feet ceiling but that more had to do with extreme luck. A ceiling of 1500 feet is great for Mount Tamalpais.

Golden Gate Bridge at Night with Fog

3) The “weatherforyou.com” site is almost useful. I just wish I could zoom into the maps. It shows you fog cover for different blocks of time.

4) Also, it helps to consult a webcam.

5) There’s also the Escaype App but you gotta pay for it.

I hope this helps. Chasing fog is like hitting in baseball. If you get it 3 out of 10 times, then you’re a success. There’s nothing like seeing the fog roll in low into the San Francisco Bay during dusk or dawn.

How to Create Sharp Photos for Instagram or Facebook

Taking the Shot

  1. High enough shutter speed? E.G. 1/1000 instead of 1/125 to remove motion blur. If you have to use a slow shutter speed, are you using image stabilization or a tripod? If you are using a tripod are using mirror lock up on a DSLR to prevent mirror slap?
  2. Stopped down enough to be sharp? Most zooms need to be stopped down 3 to 5 stops to achieve maximum sharpness, too wide or too narrow, then the image is too soft. Legendary Canon L, Zeiss or Leica lenses though do not have this problem.
  3. Is it a hazy day? Images are most sharp right after a storm. There’s no dust in the air.
  4. Are you using a polarizer? Sometimes this can sharpen an image.
  5. Are you using too many filters? Stacked filters degrade sharpness.
  6. Is your lens clean?
  7. Does your composition present a contrast between in focus and out of focus elements. An image looks sharper when there are actually some blurred parts, e.g. booked.
  8. Are you using film? If so, the lower the ISO, the less grain and the sharper the image is. ISO 100 is great for sharp portraits.

Before

Before sharpening in post

After

After sharpening
Try these settings for clarity, vibrance and saturation.

Post-Processing the Shot

  • Clarity: 37
  • Vibrance: 14
  • Saturation: 7

Be sure to use sharpening. In the blog post below, you’ll see why:

Lightroom Workflow

YMMV, and these settings are what I use for golden hour. Milky way, or other scenes will have different settings.

If you are posting to Facebook, you need to use Photoshop, and use the sharpen filter twice.

If you are posting to Instagram, you need to be aware that Instagram might actually degrade images.

Here’s the final product of a 600 second long exposure using a 16mm Rokinon lens at f/2.0, ISO 1600, on my old, but trusty Canon T3i.

Mono Lake, 2017

Mono Lake, 2017

Got any questions? Feel free to ask in the comments or DM me on Instagram.

Day Tripping to Yosemite

One of the most rewarding day trips from the San Francisco Bay Area is a 4 hour drive to Yosemite National Park. This year I’ve only done one day trip to Yosemite. It was on my way back from Death Valley National Park.

Here’s what you need to pack if you are going between now and until Spring of 2017. Besides the basics you will need:

1) A paper map and compass because there is limited cell service in Yosemite unless you have Verizon. Better yet, get a GPS.

2) Tire chains or 4 wheel drive in case of snow.

3) A sleeping bag in case you get stuck in the road in the cold.

4) $25 for the park pass to allow your automobile and passengers if any into the park.

5) For fun, bring stuff you might bring for a picnic!

Here is an itinerary for a day trip to Yosemite.

2:00 am – Leave San Francisco
6:00 – 6:30 am – Arrive at Tunnel View in Yosemite to catch sunrise.
8:00 – 10:00 am – Grab breakfast at Yosemite Lodge or eat somewhere picturesque in the Valley. At this time of year there should be parking along side of the road.
10am until sunset – Explore the valley, and photograph!
After sunset – head back to San Francisco

A spot you can drive right up to!

For photographers, finding the right light will be challenging until golden hour, so there are a few hours to kill, or a few hours to get to the right spot. If you’re looking for a work out, Vernal Falls is a great hike. I would personally stay in the valley and photograph along the Merced River, and Sentinel Bridge capturing the iconic Half Dome. This is such a treat when there’s snow on the ground, too. Another valley option is a quick, short hike to the base of lower Yosemite Falls. The options are endless for a day trip.

A 3.5 mile round trip hike from the Happy Isles!

However, for the more adventurous, Vernal Falls can be done in a day during the winter. Details on a hike to Vernal Falls when it is snowing can be found on the Yosemite National Park website.

Backcountry Camping at Crater Lake National Park

Backcountry camping affords the flexibility, freedom and solitude that is often lacking with car camping or just camping at a designated campsite. This weekend, I got to enjoy backcountry camping with a friend at Crater Lake National Park.

First, you get your backcountry permit from the Visitor Center. Some guides tell you you can do this at the Rim Village. This is no longer true. After that you can camp anywhere that is a mile away from the nearest paved road, and out of sight of any trails. A popular route is hiking, or in our case, snow shoeing to Discovery Point.

Crater Lake at Sunset from Discovery Point
Crater Lake from Discovery Point, April 2016

The snowpack is its deepest (approx. 117 inches average) in March, and can last into July. Personally, I feel March and April are the best times to go because the southern approach is open unless there’s a snowstorm.

Setting up camp is encouraged close by trees where you can be protected from the wind, snow and/or rain. You cannot camp at the rim of the crater. Also, make sure you are prepared for the cold nights that can go to below freezing. After you’ve set up camp, you can enjoy the stars.

Milky Way from Crater Lake

Converting a 55 degree sleeping bag to a 35 degree bag

When I went to Yosemite this winter, I got to use a variety of gear. The experiment that made me the happiest was when I converted a 55 degree sleeping bag to a 35 degree bag. I did this by using 3 items.

The Alpine Bivy from Outdoor Research is a Goretex bivy that keeps you dry even if you were sleeping in a stream. I never got to test that part out, but because you are sealed in versus a regular tent, it added a layer of warmth.

Alpine Bivy

The Sea to Summit Extreme Thermolite Liner claims to add 25 degrees to your sleeping bag. I have tested in 35 degree weather in Yosemite and was comfortable, but when I was in Joshua Tree with 40 degree weather without the Sol Escape Bivvy, I struggled to stay warm through out the night. I think it only adds 10 degrees thus turning my 55 degree bag to a 45 degree bag.

The Sol Escape Bivvy by itself seems to be the equivalent of a 45 degree bag. When used in combination with the Alpine Bivy, and Thermolite Liner, you now have equipment that will keep you very comfortable at 35 degrees. I definitely want to test it to lower temperatures. Have you tried a liner with a bivy to keep warmer?

Here is the rest of the combo below.

The Combo

Staying Warm in Below Freezing Weather

I camped in Yosemite overnight for New Year’s Eve in below freezing weather. In this podcast, I share tips and tricks for overcoming the freezing cold.

Season 01, Episode 02, Dressing for the Cold

I mention these great clothing companies:

  • Marmot, especially their ROM (Range of Motion) Jacket as being the perfect PNW (Pacific Northwest Jacket);
  • ExOfficio, which has great quick drying clothing; and
  • Northface, which has a great thermoball jacket to keep you warm down into the 20s (Fahrenheit), at least in my experience.