Stand Developing Ilford FP4+ in Rodinal 1:100

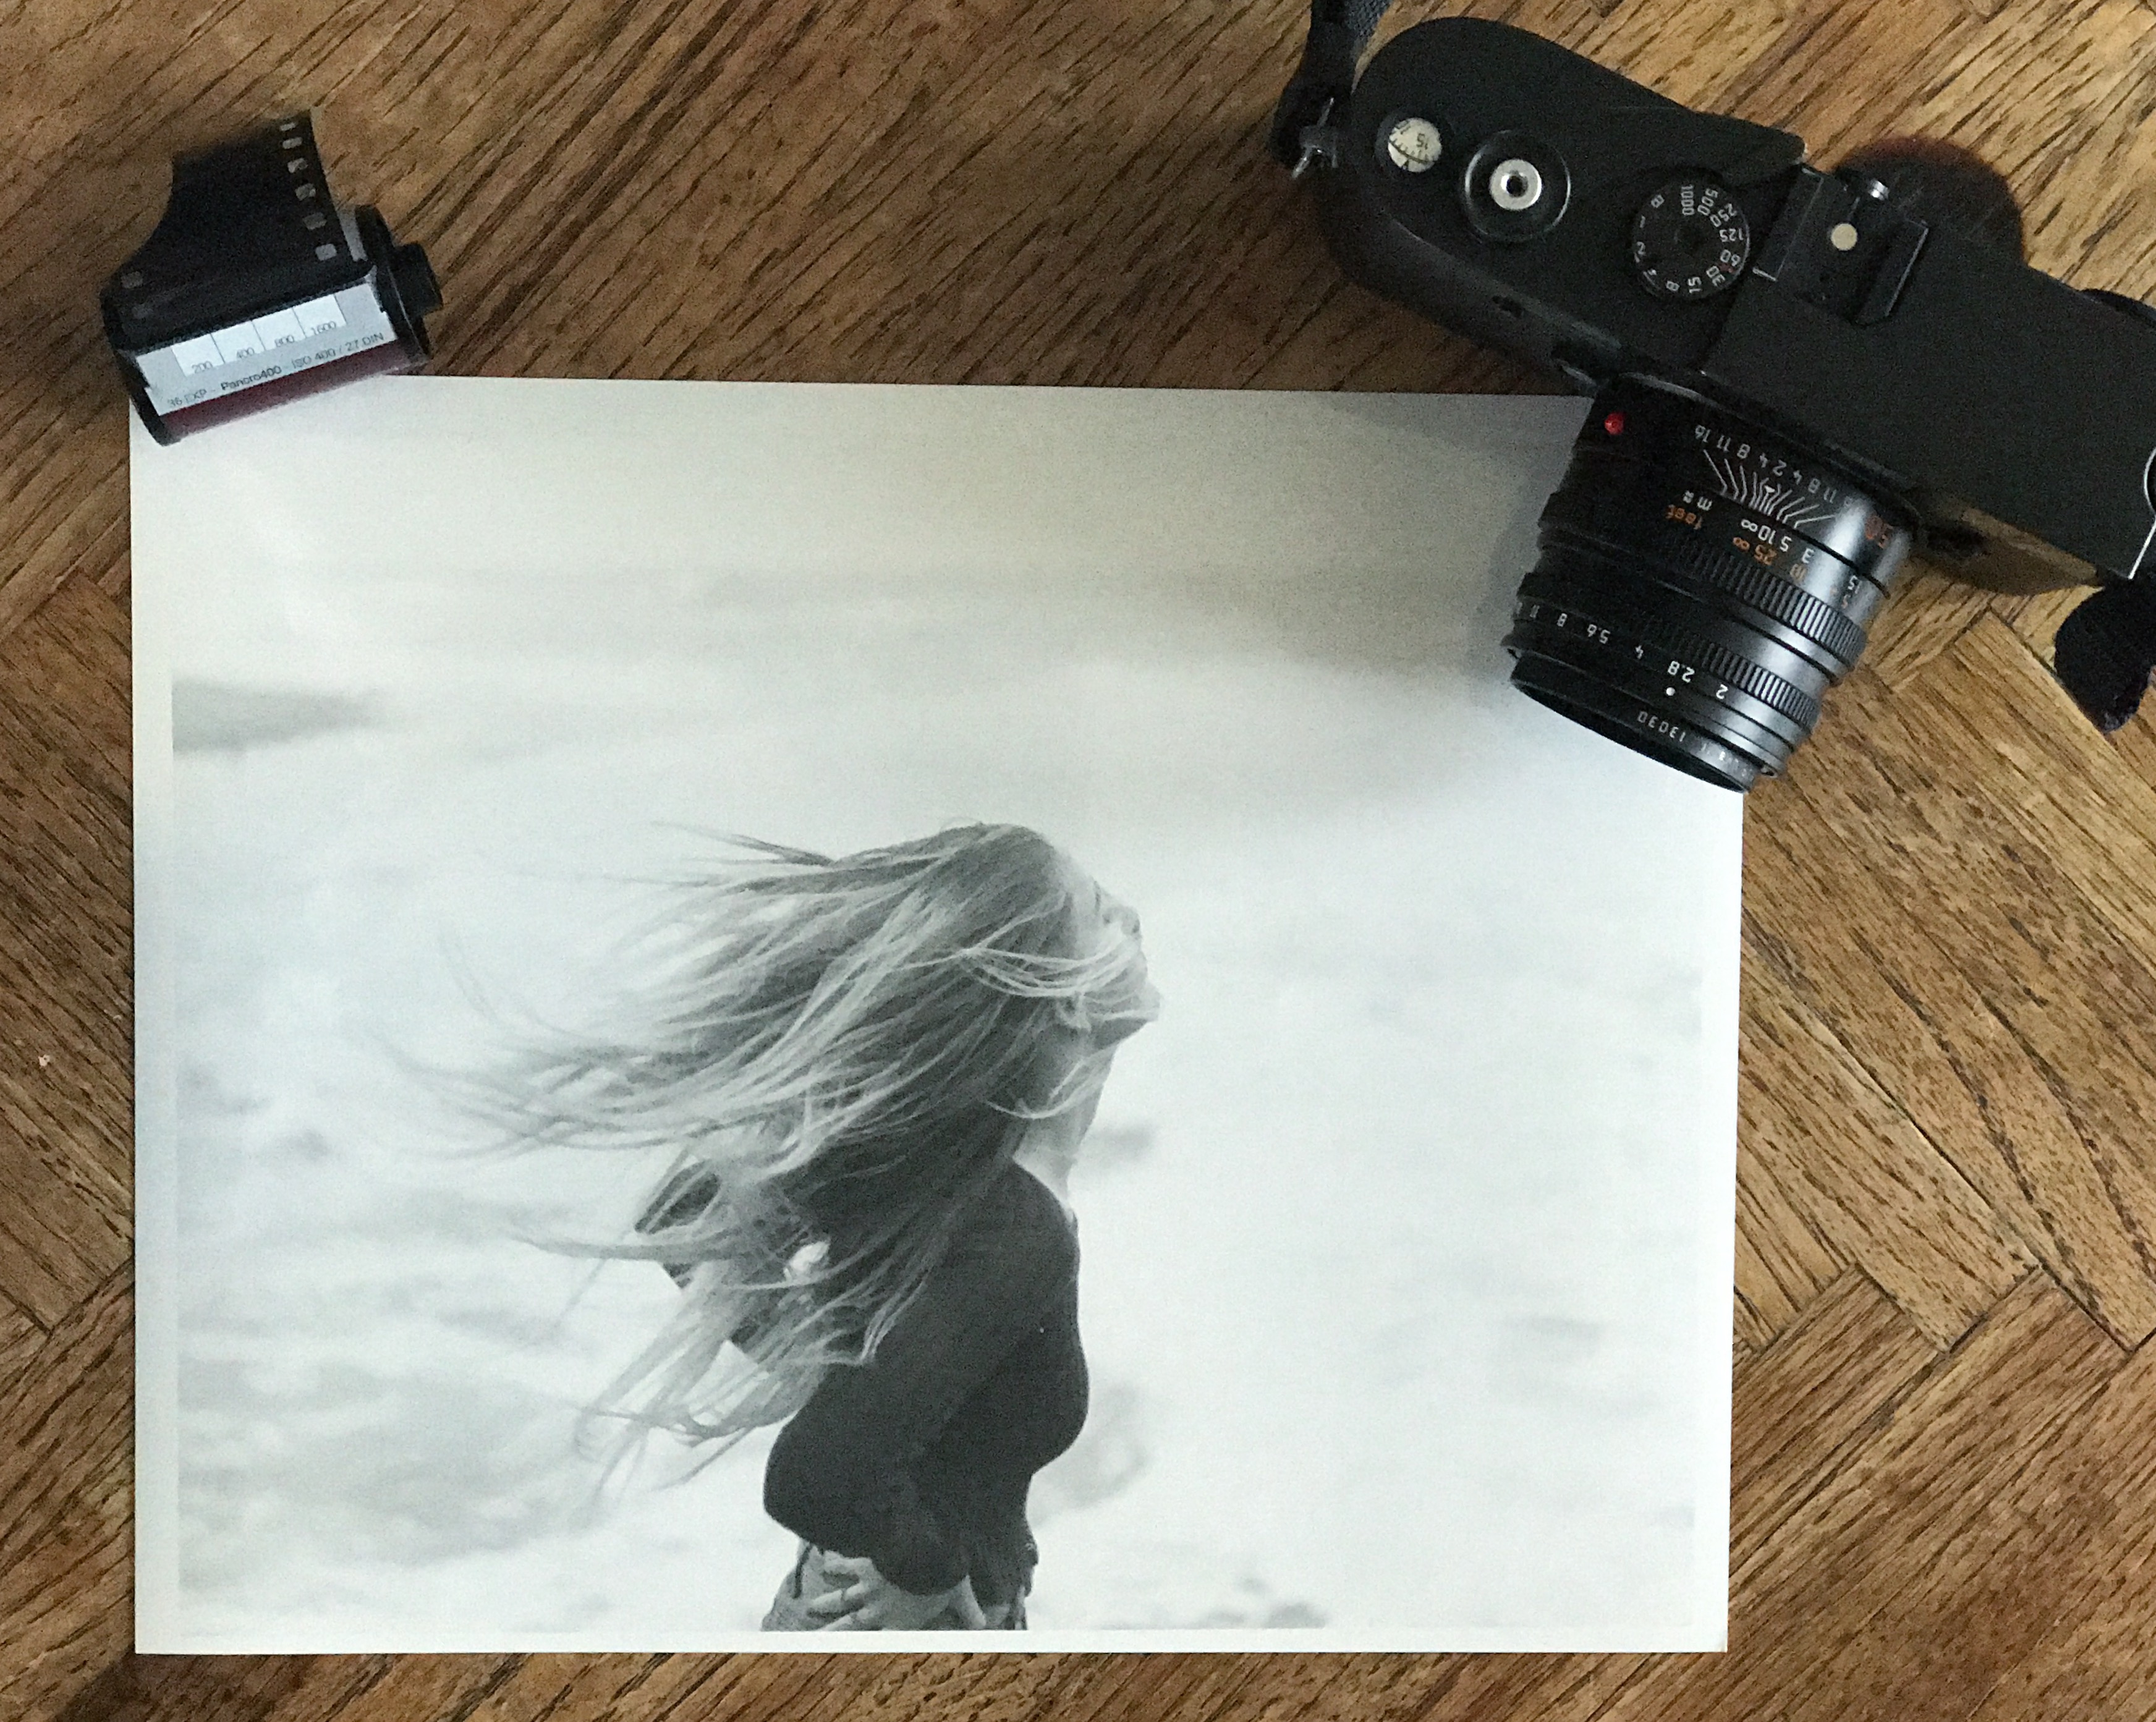
I stand developed Ilford FP4+ ISO 125 in 500ml of 68F, 1:100 Rodinal for an hour. I was expecting a very fine grain, and high amount of accutance but was slightly disappointed. The highlighting and gradient effect you expect from stand development still blew me away. In the highlights the grain was fine, but the midtones and shadow areas gave medium grain that one would find in pushed film. With all this said, when looking at a magnifier, these were the sharpest negatives I had ever seen. The quirkiness of the results will make me think twice before using it as a film for landscapes, but the detail I got from the close up shots with bokeh make me see the potential for portraits.

Unfortunately, the low-end Epson V600 scanner I had wasn’t able to capture the subtleties in highlights that I could see in the negative. I’m pretty sure that as a print the highlights will be there, and if not, a little dodging should fix that.

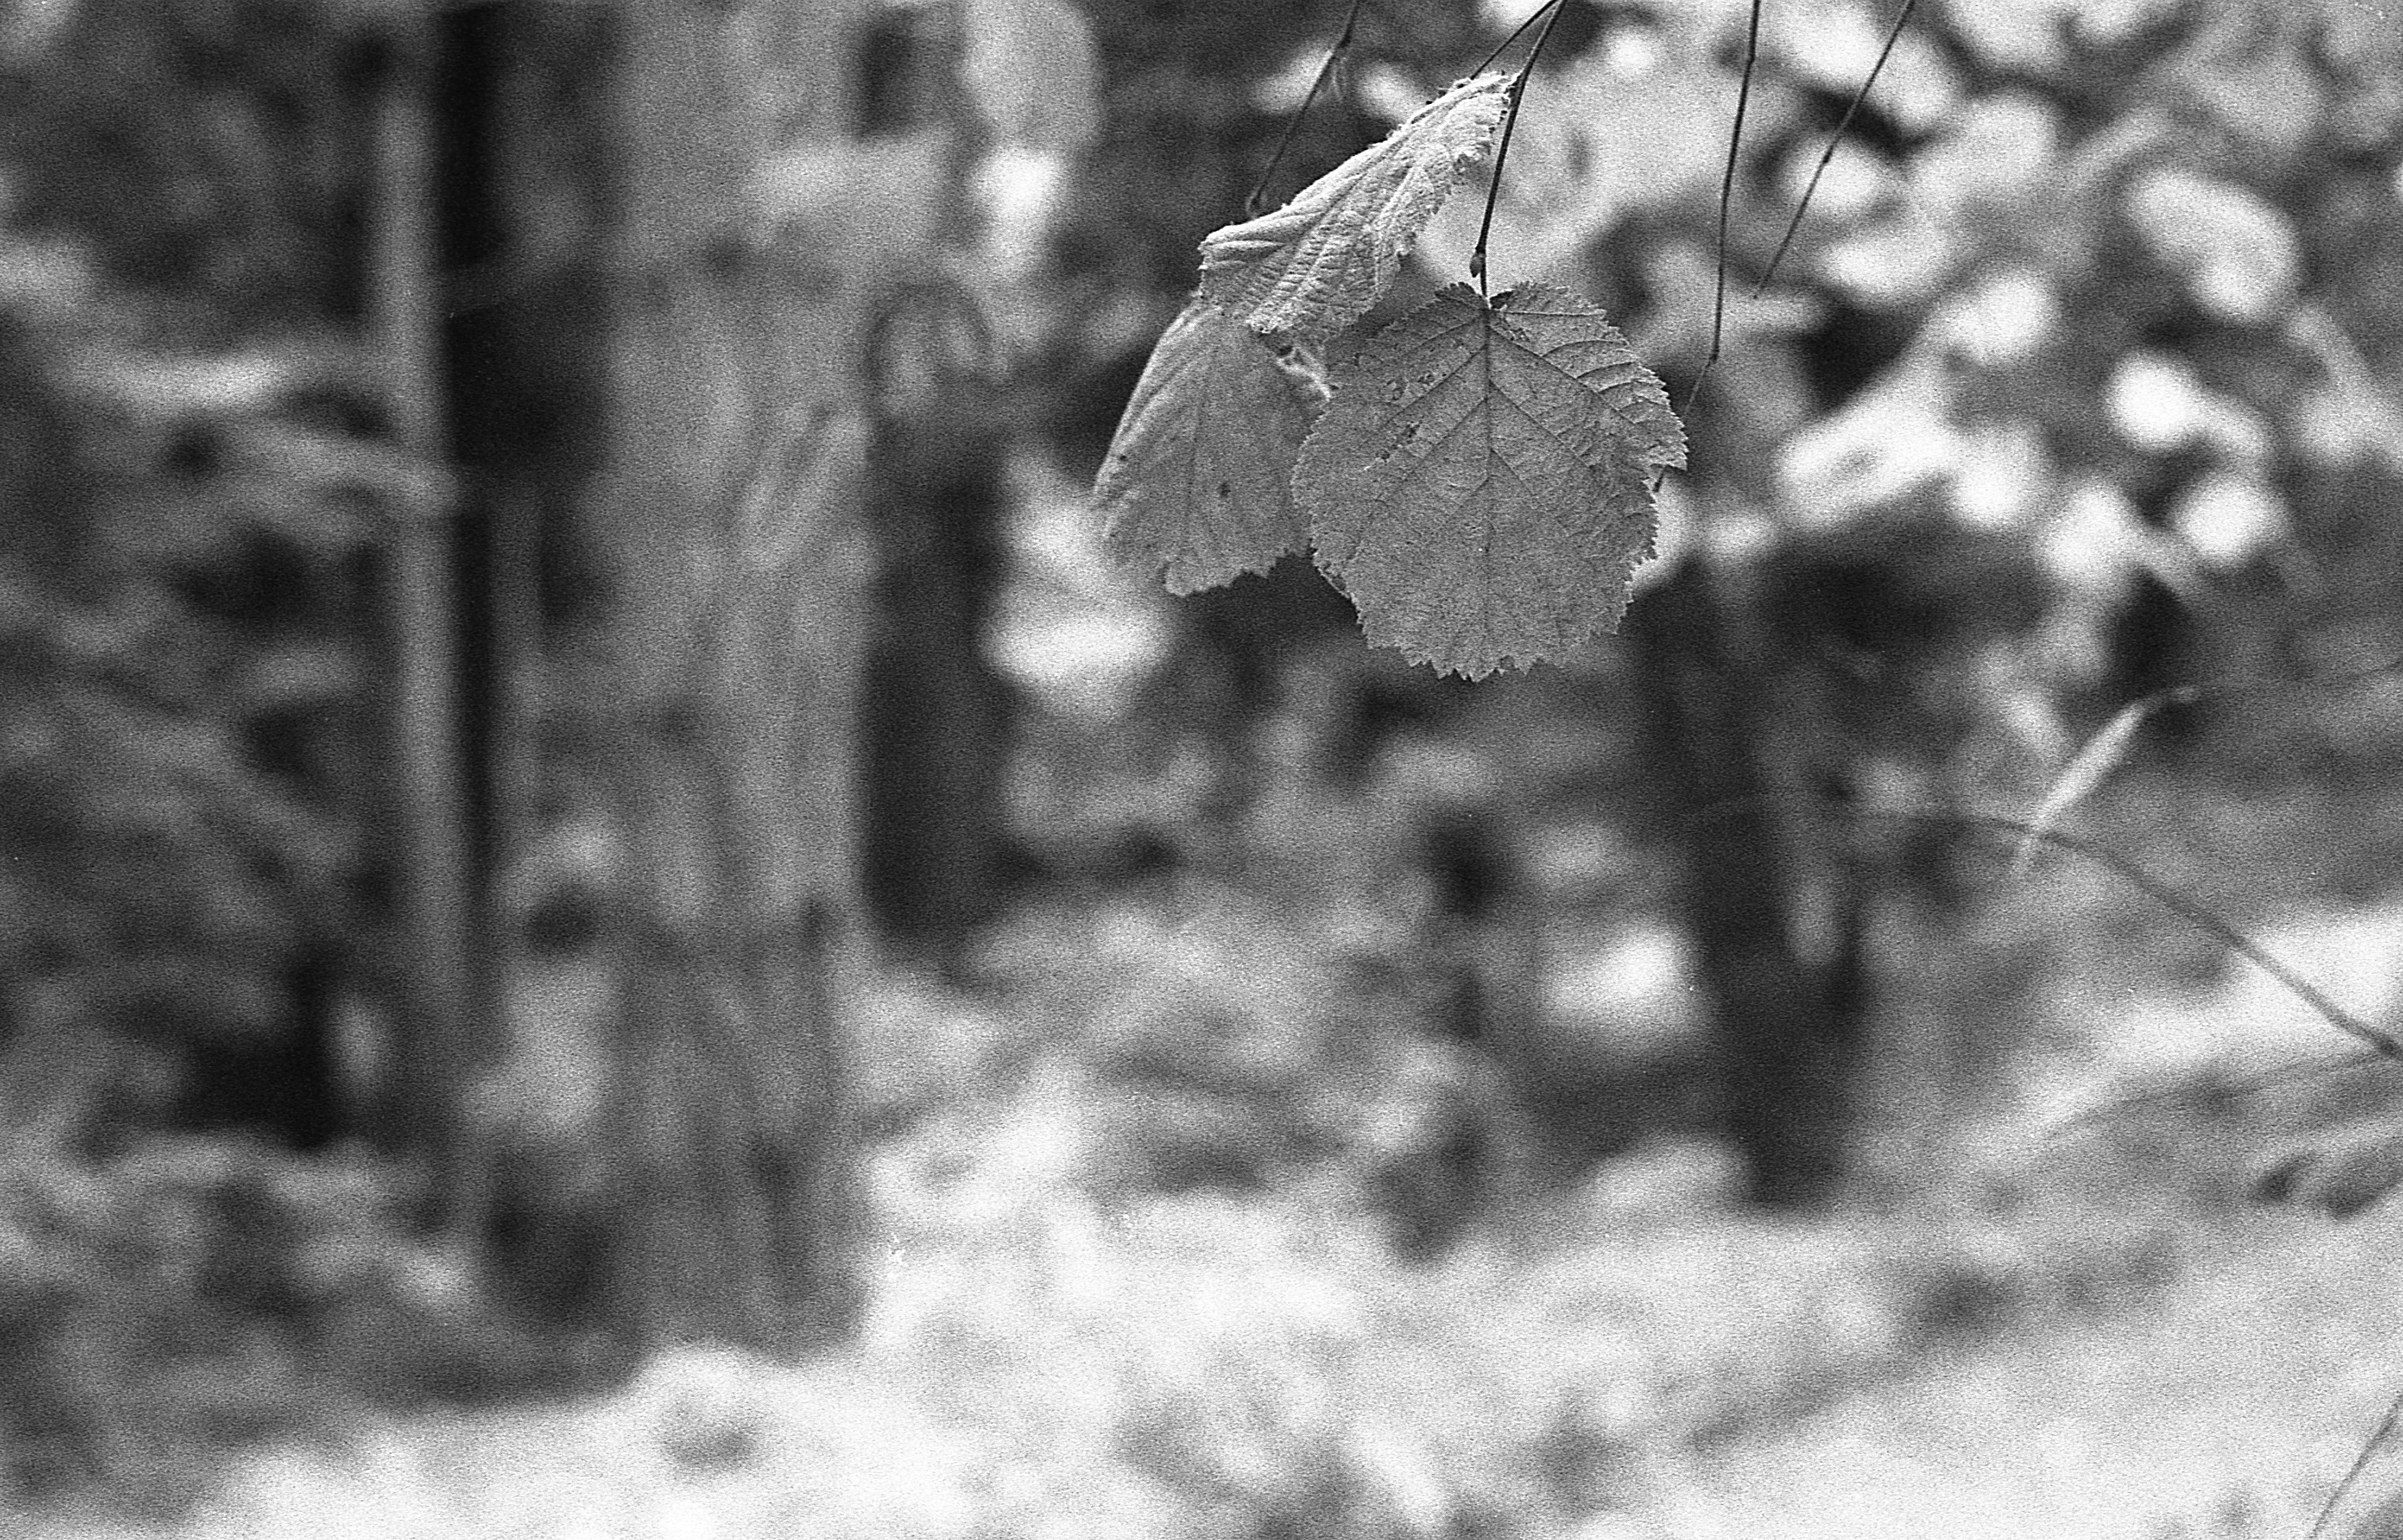
Here’s a photo shot with Ilford HP5+ 400 pushed to ISO 1600 stand developed in 500ml of 68F, 1:100 Rodinal for 2 hours. This shot is exceedingly sharp thanks to the lens, and stand development process. However, the grain prevails everywhere. Some like this; others don’t. I am a fan of grain, but also understand the need for fine or undetectable grain for portraits.

Leica M-A, 50mm Summicron, f/2, 1/500, Ilford HP5+ ISO 1600

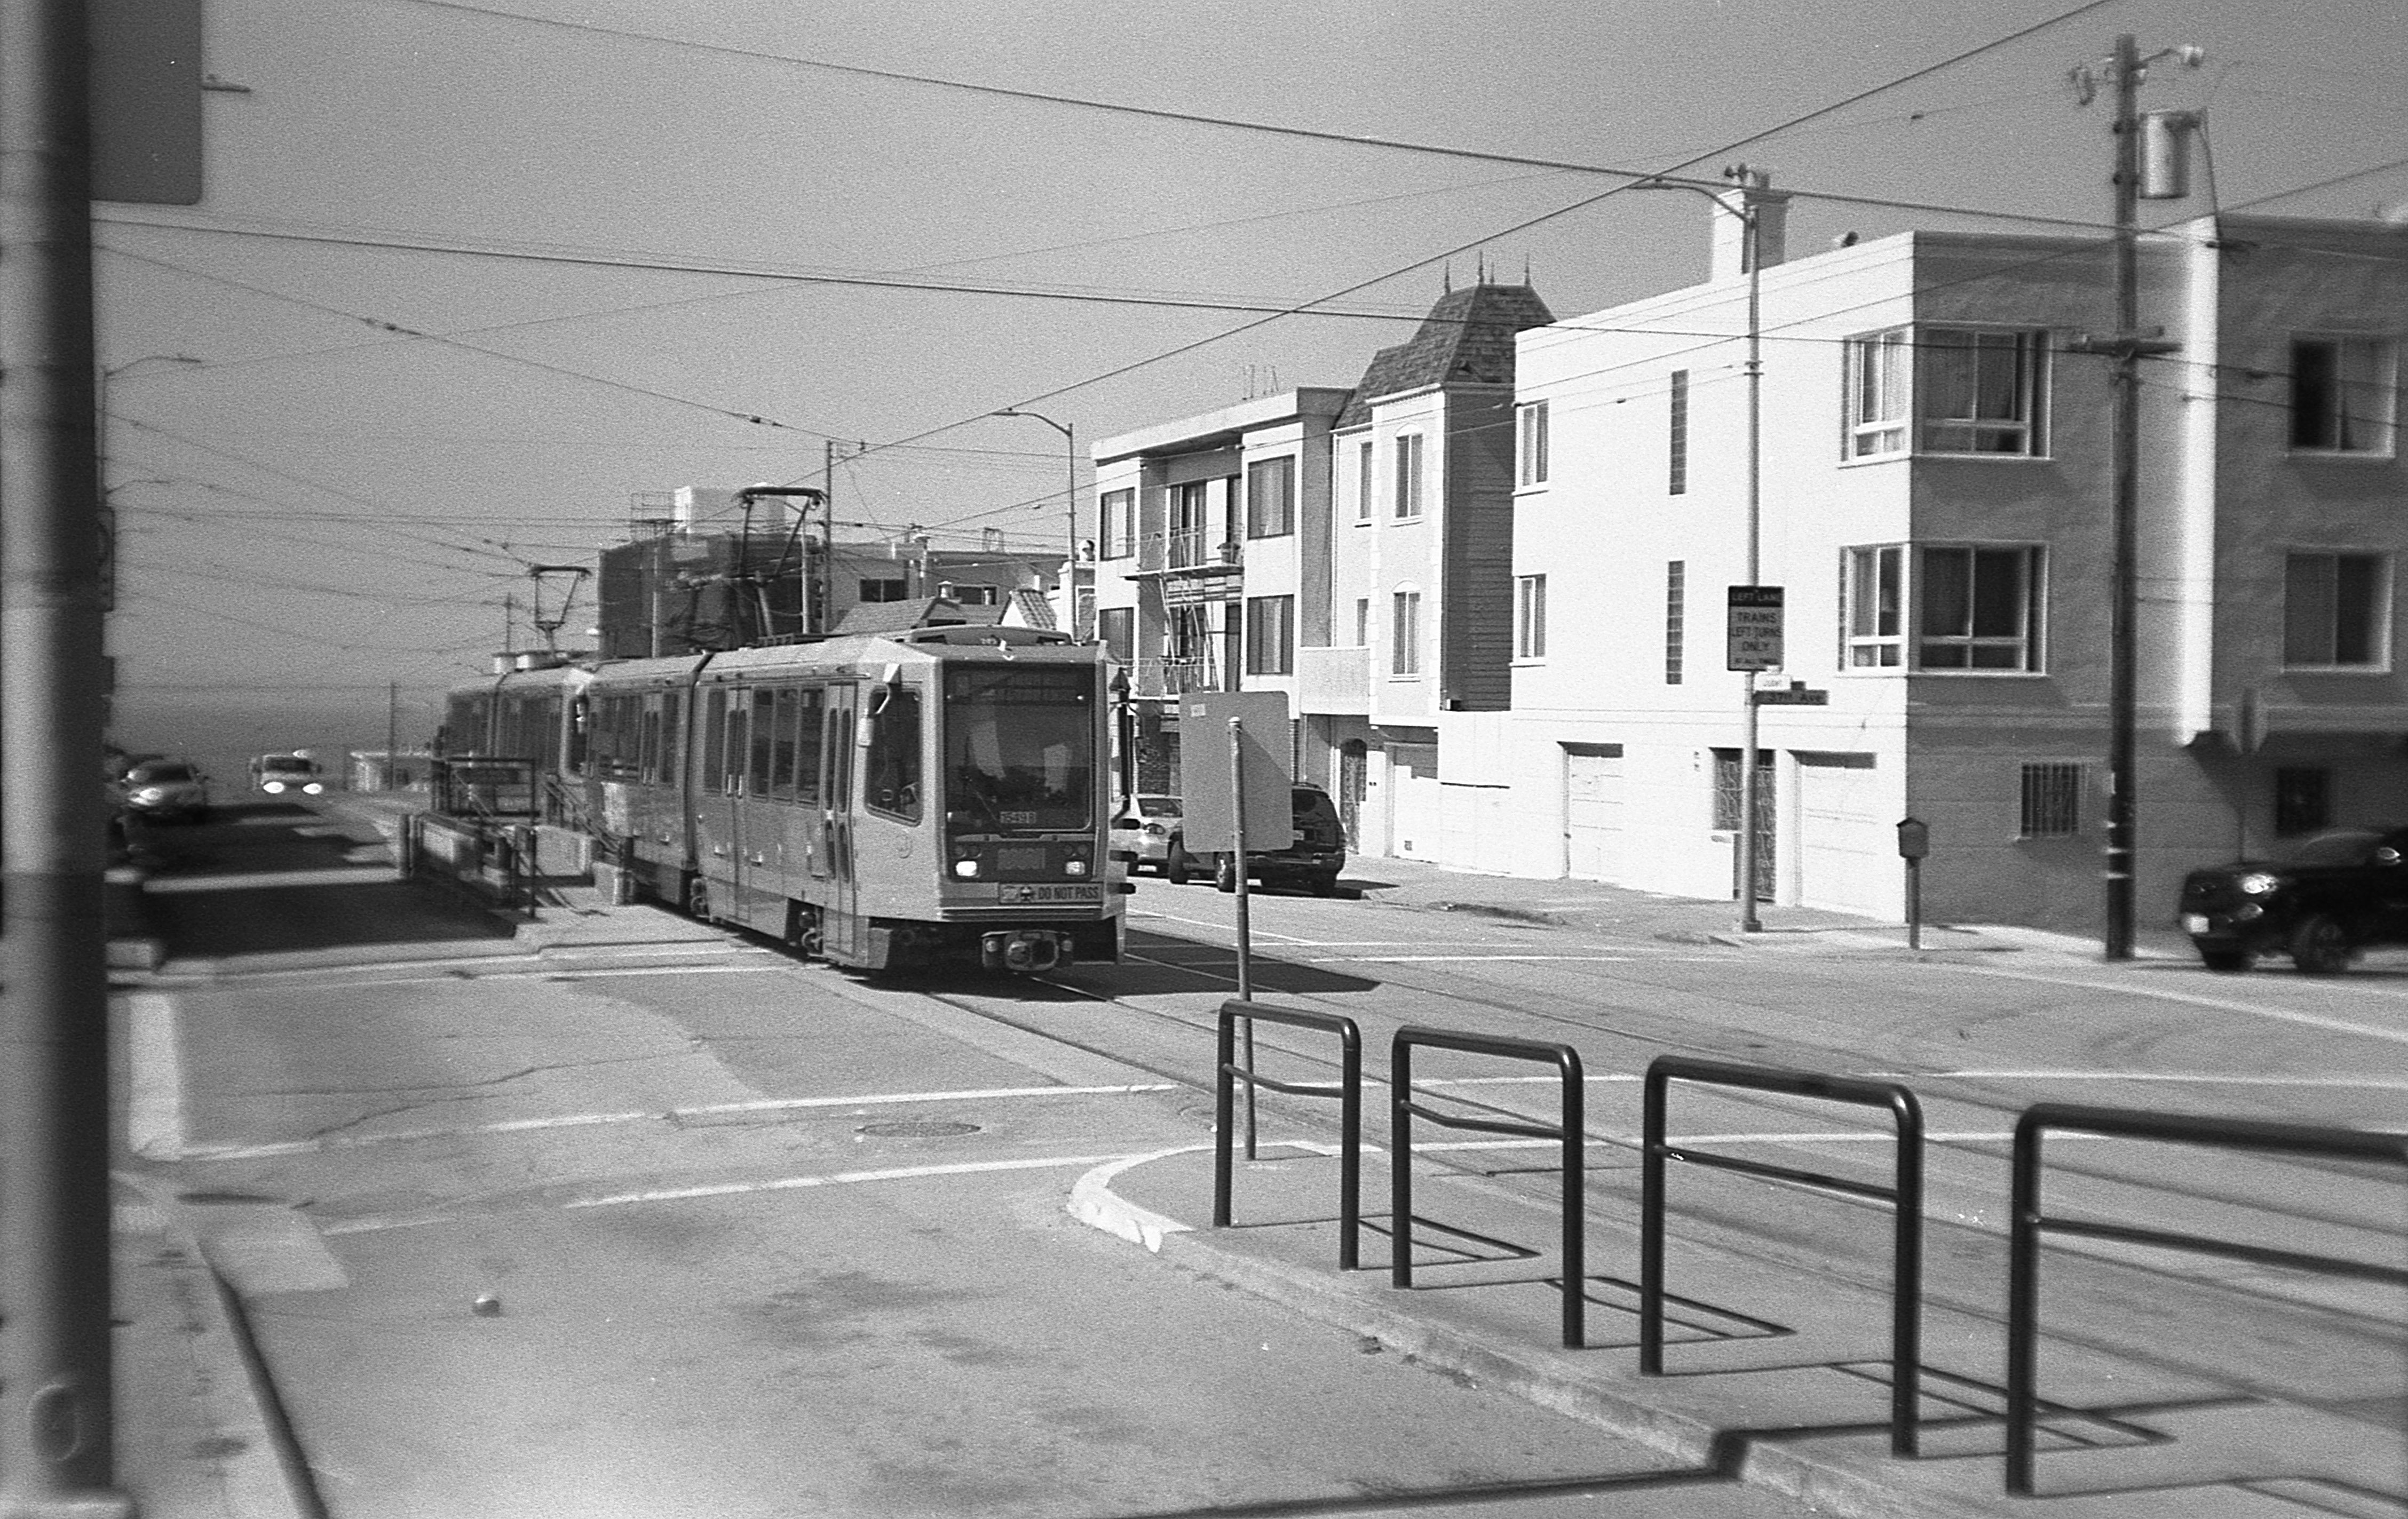
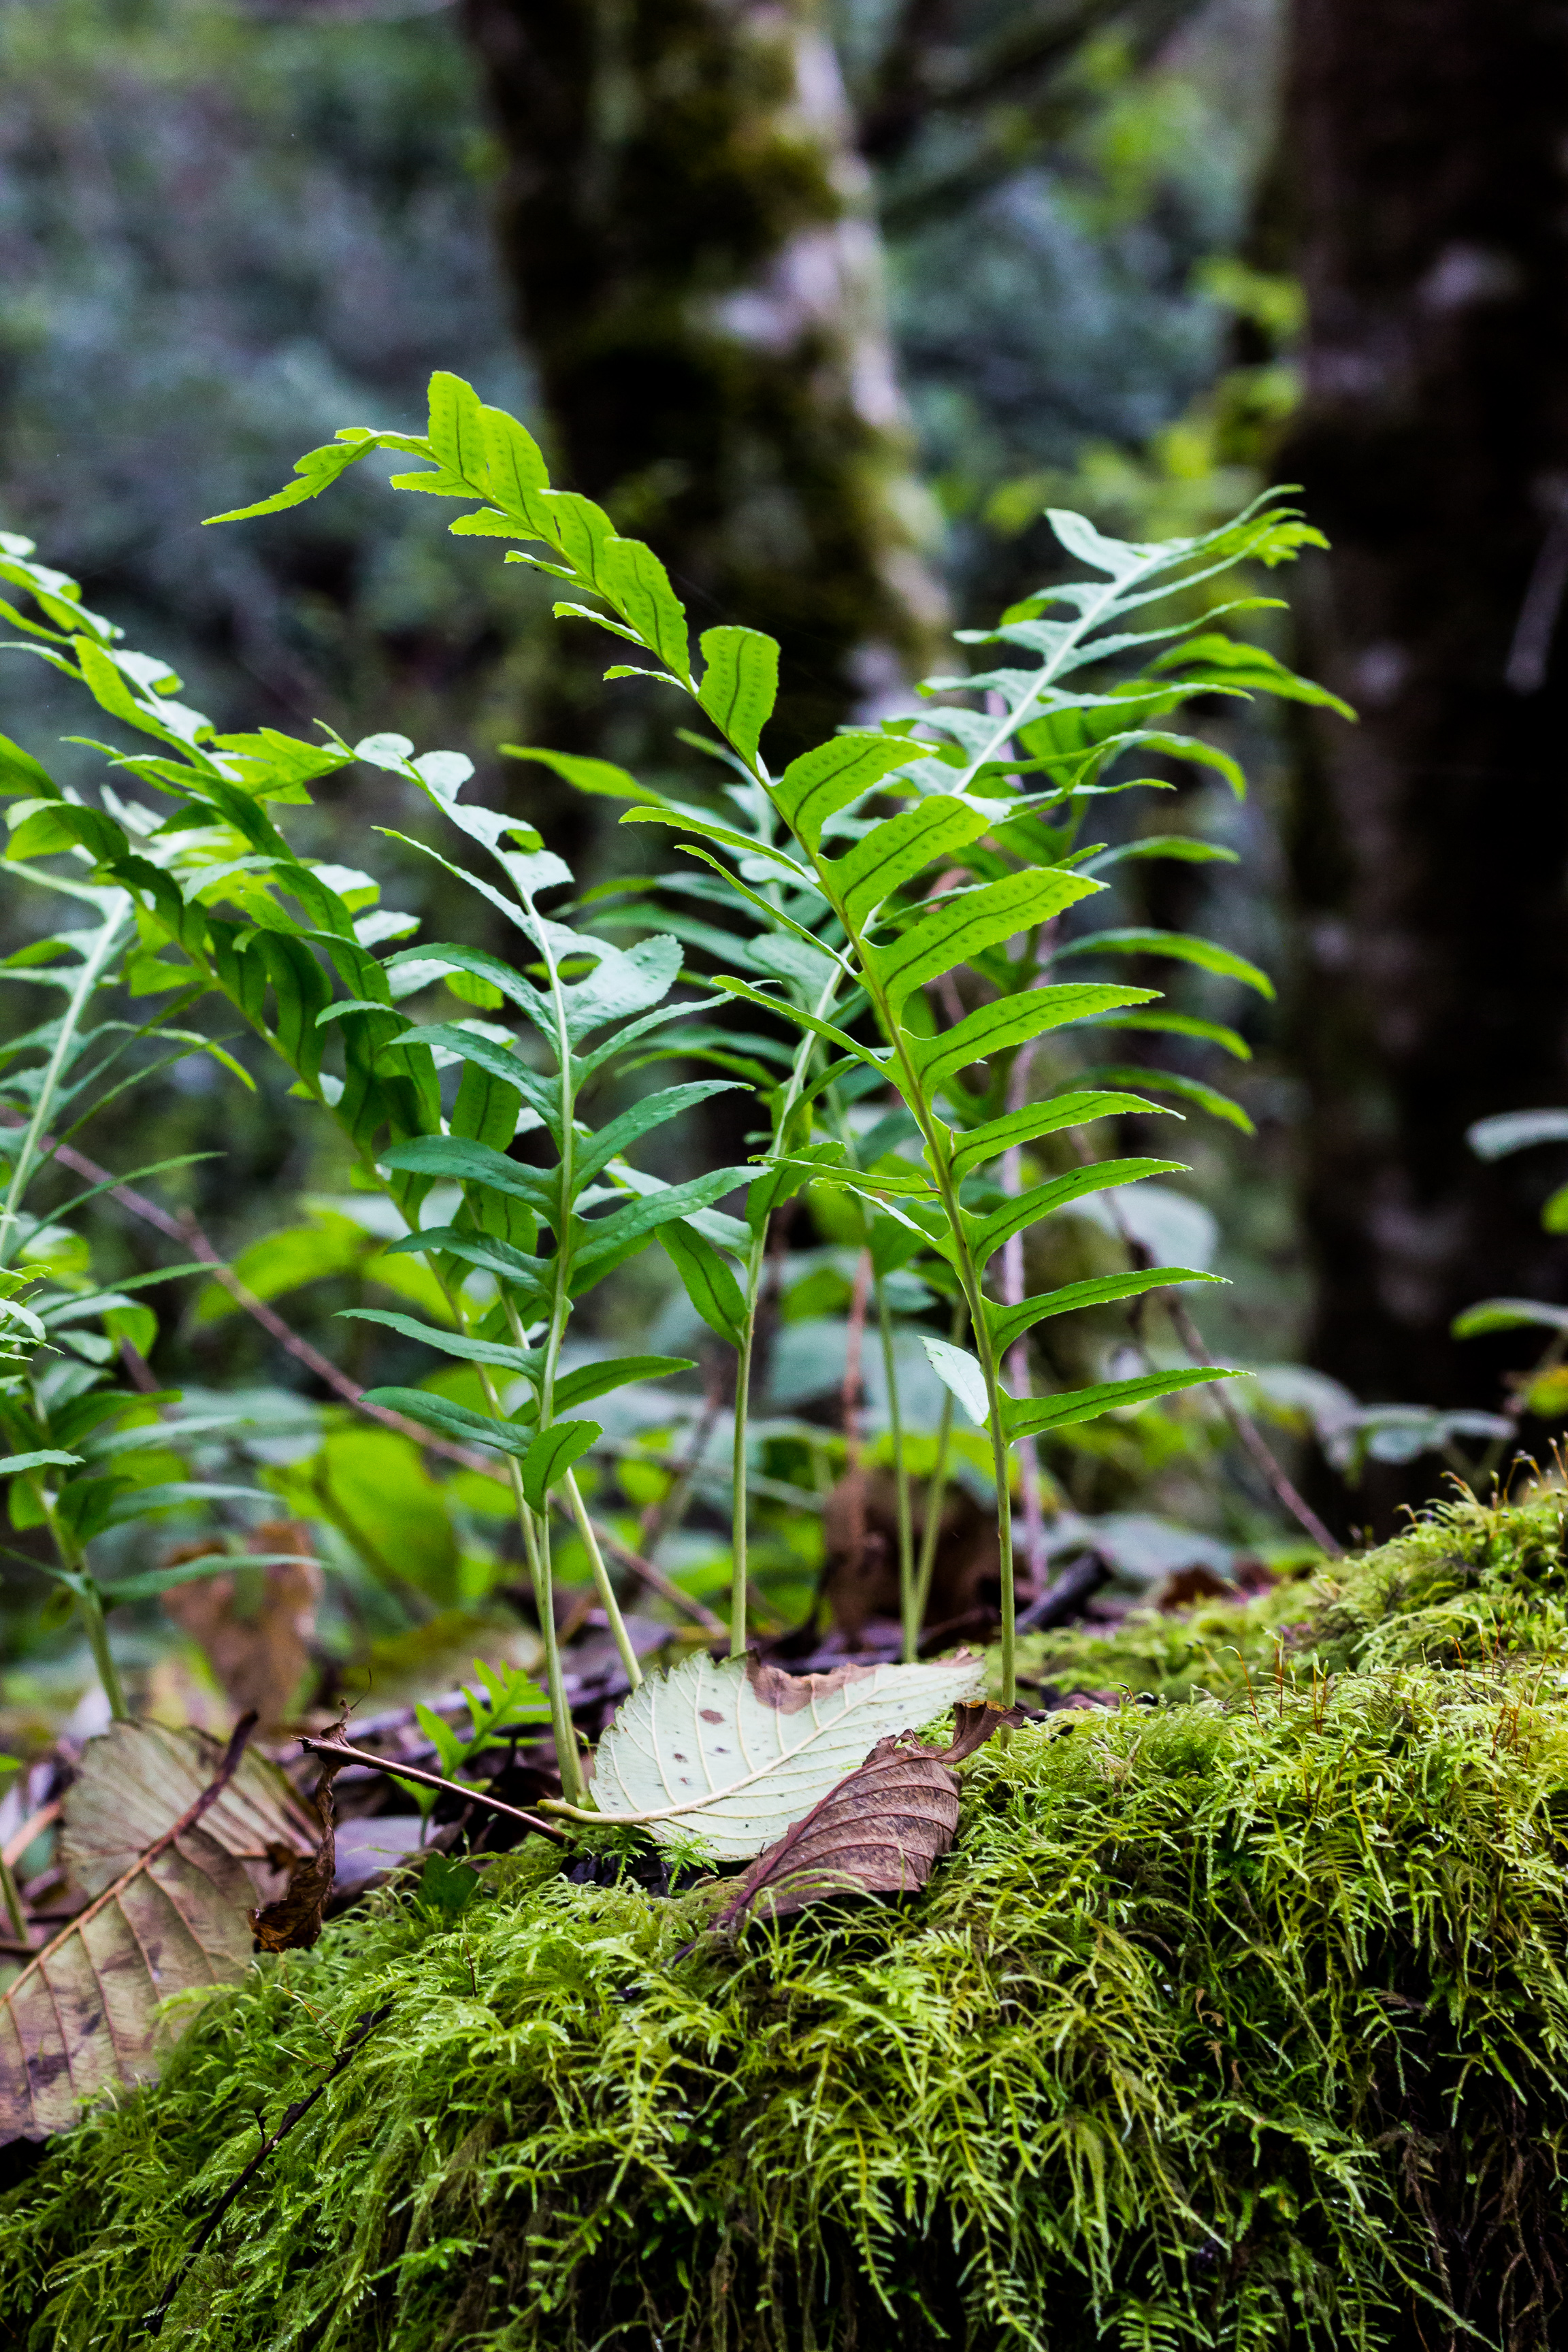
Here’s a photo shot with Ilford FP4+ ISO 125 in 500ml of 68F, 1:100 Rodinal stand developed for an hour. You can see the fine detail and sharpness, but the bokeh area has a bit of grain.

Leica M-A, 50mm Summicron, f/2, 1/500, Ilford FP4+ ISO 125

If you compare the first two photos carefully, you can see that the Ilford FP4+ definitely has the finer grain, but not as fine as one would expect. I know I’m not comparing apples and oranges, but Portra 160 when well or slightly over-exposed exhibits no detectable grain.

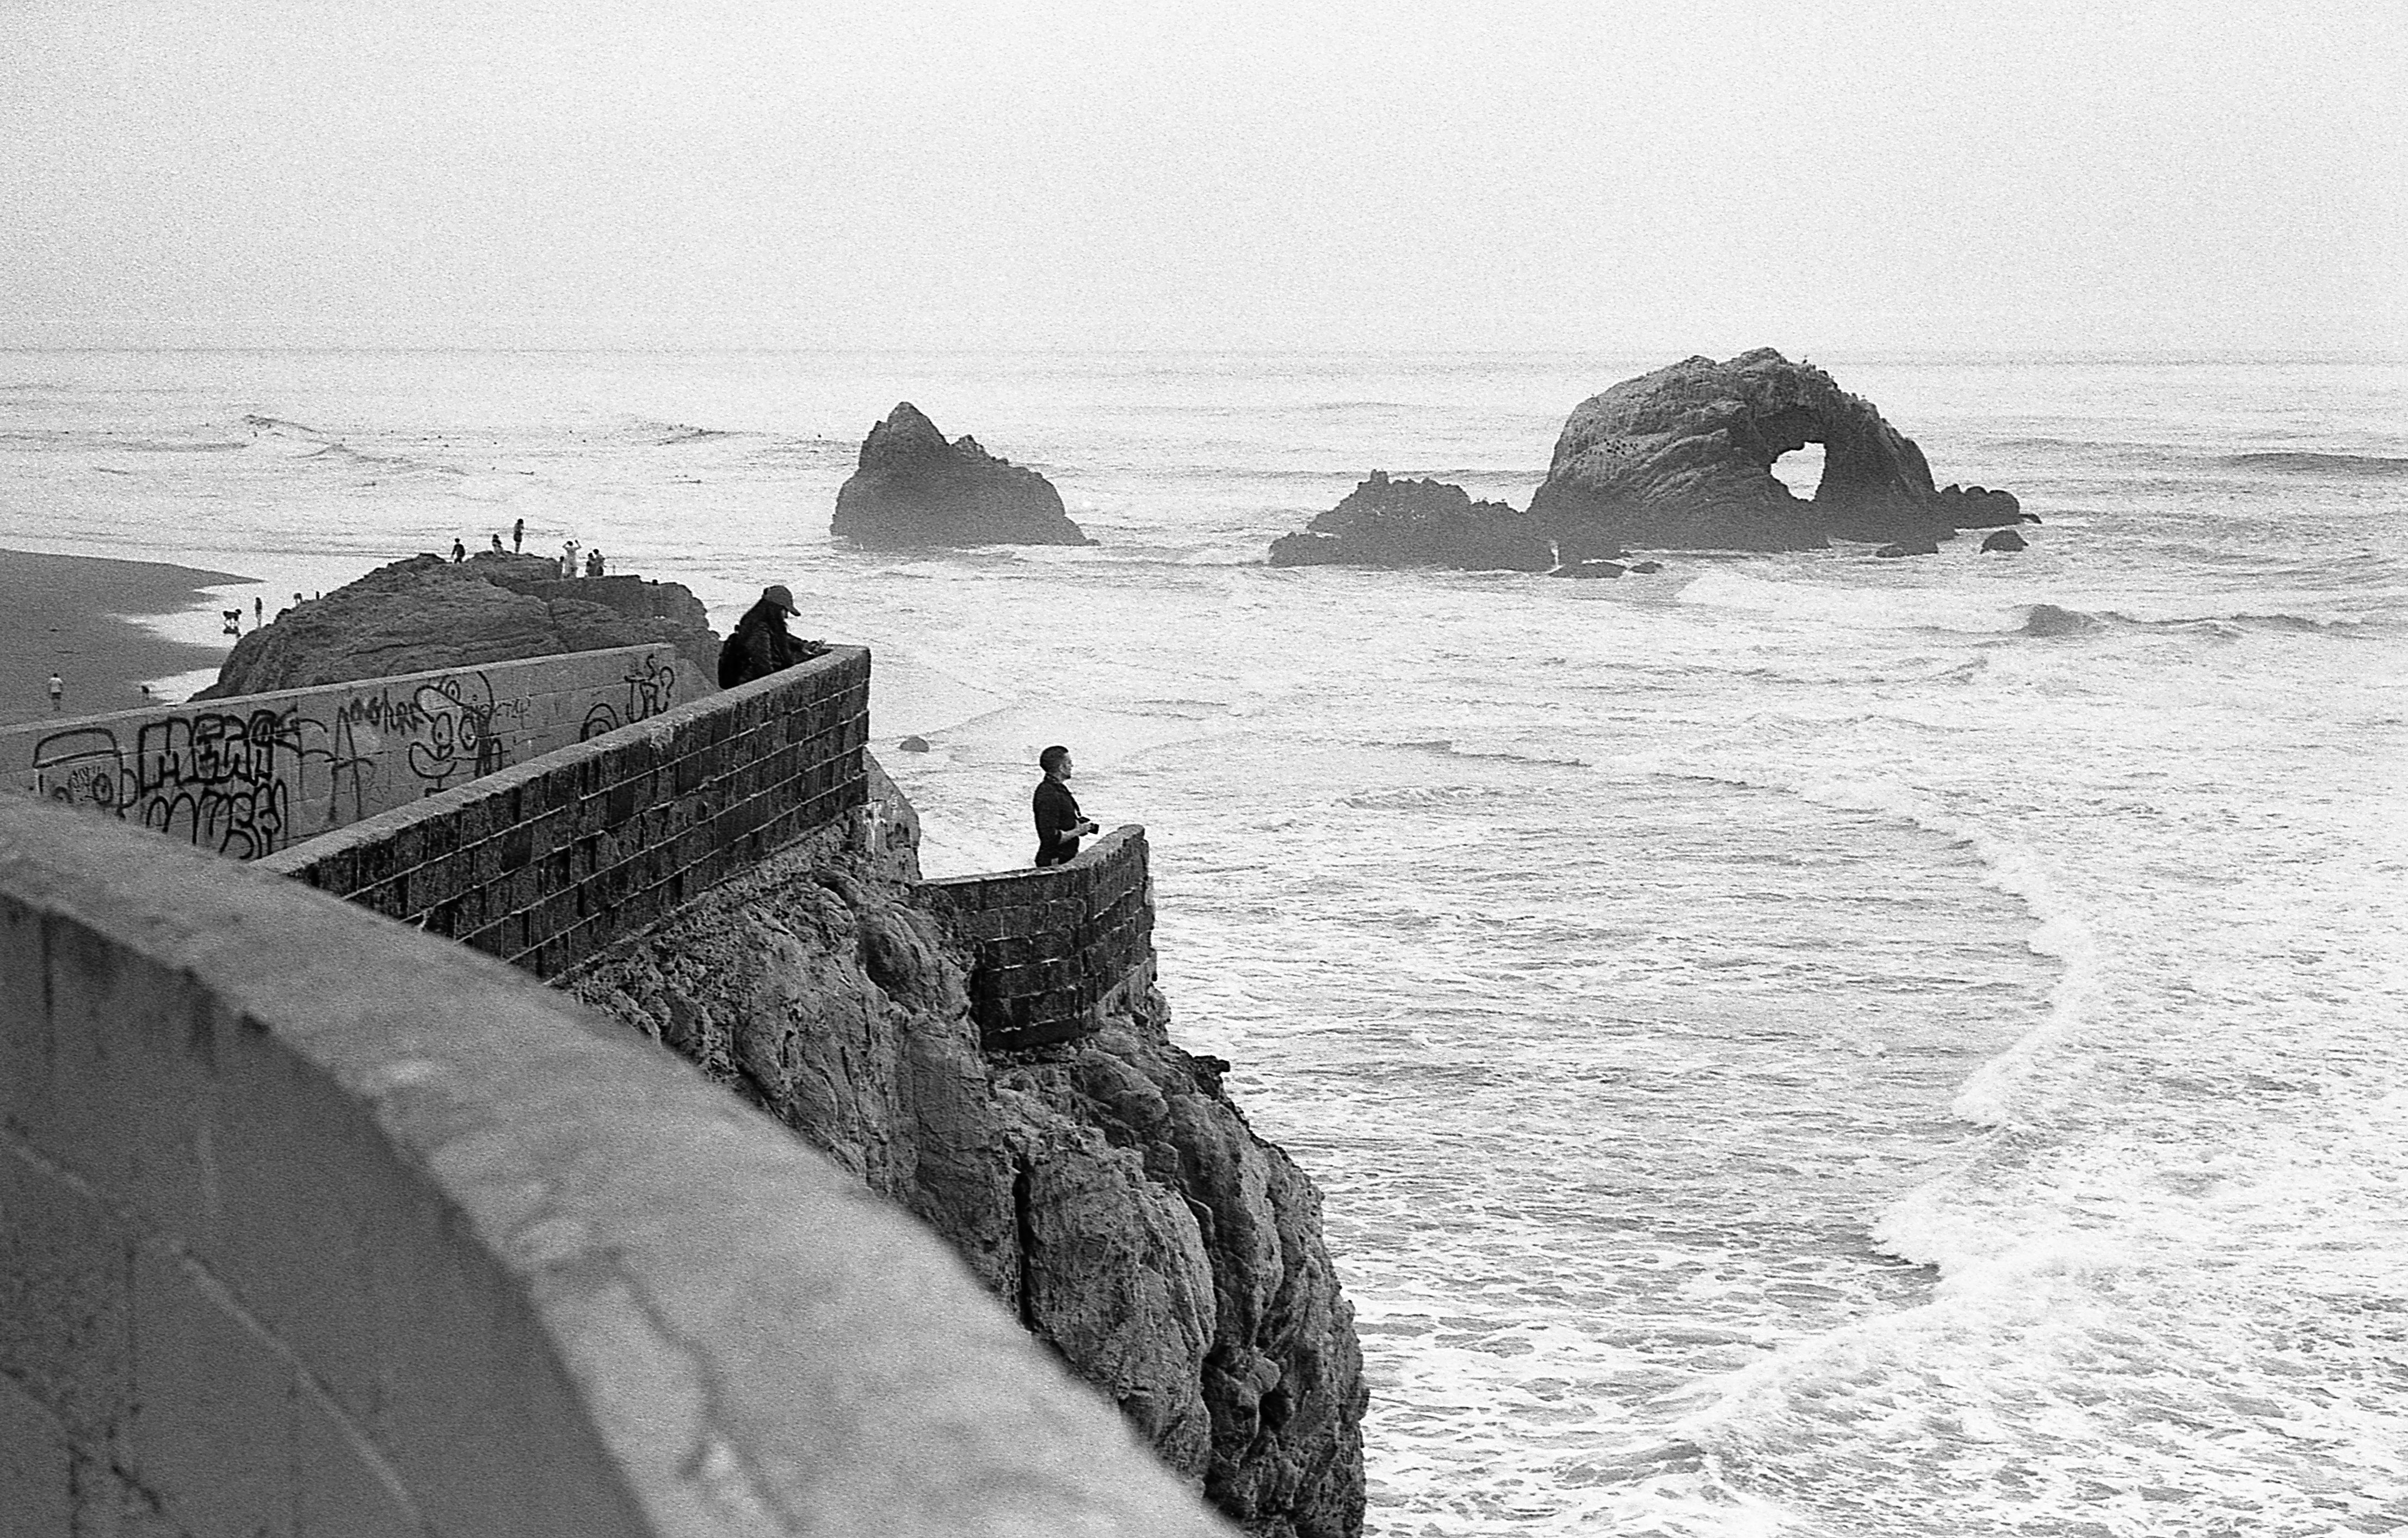
Here’s another photo shot with Ilford FP4+ ISO 125 in 500ml of 68F, 1:100 Rodinal stand developed for an hour. This is a photo of a very popular spot for photographers, Sutro Baths in San Francisco. There were at least 2 couple photography sessions happening while I was here.

Leica M-A, 50mm Summicron, f/16, 1/125, Ilford FP4+ ISO 125

So I’m really not sold on Ilford FP4+ for landscapes, but close ups and portraiture would seem to be its strength. I was surprised by the amount of grain, too. I am not sure I would buy this film again.

A Review of Blade Runner 2049

I’ve seen Sicario and Arrival, and both had far more emotional resonance than Blade Runner, and Blade Runner 2049. In Sicario, I felt the loss of innocence of Agent Kate Macer played by Emily Blunt. In Arrival, I mourned for Louise Banks’ daughter which set the emotional tone for the rest of the film. These are both masterful films by Denis Villeneuve who is the director for Blade Runner 2049.

Neither Blade Runner had that emotional resonance. I thought Roy Batty’s poetic language before dying was beautiful. Gaff’s line, “Too bad she won’t live, but then again who does?” still sticks with me for its sang froid. I thought the “love” scene between Rachel and Deckard which teetered between rejection, and near rape, made me feel very uncomfortable. Yet, where was the emotional core?

The sequel to Blade Runner, Blade Runner 2049, is even worse at evoking an emotional response. Like a reverse Voigt-Kampf test, if this movie left you feeling nothing, then you’re probably human. Yet, I can’t dismiss it. There are certain visuals that haunt me. There’s a scene where Officer K (Ryan Gosling) arrives at a dystopic orphanage, that looks more like a junk yard, where a sea of charges are made to take apart green computer boards. This harkened back to a visual that might more be seen in Alfonso Cuaron’s Children of Men.

I could not find fault with the world-building which extends Ridley Scott’s original vision, and at the same time has a Villeneuve and Cuaron feel to it. The visuals delighted. The world is headed to the ecological breaking point: sea walls to protect the city because the glaciers have melted.

The San Pedro Sea Wall in Blade Runner 2049

The philosophical questions raised by this Blade Runner sequel are the same as the last one (can an android be human?) except with the addition of the idea of a skin job revolution derivative of Battle Star Galactica (RDM).

It just gets worse and worse, both in Hollywood, and in dystopias, so maybe the replicants should take over.

A Review of the Argus C3

The cheapest range finder that I could find on eBay was this Argus C3. I saw it used as a prop in the movie, Carol, and saw that World War II photos were taken with it by infantryman, Tony Vaccaro.

The Argus C3, a 4 to 8 step shooter

You can get this range finder right now on eBay for between $14.95 and $40.00. I got to spend a day shooting this wonderful piece of machinery lovingly named, “The Brick.”

Before I could shoot it, I had to adjust the focusing which was off. Youtube has a plethora of videos to help you with this and adjusting framelines if needed. Once the focus was adjusted, I loaded the camera with JCH Streetpan.

I made my way to the N-Judah Stop.

Argus C3, 50mm, f/16, 1/300, JCH StreetPan ISO 400

The shutter speeds for this camera are 1/300, 1/100, 1/50, 1/25 and 1/10. The f-stops for the 50mm lens it comes with are f3.5, f4, f5.6, f8, f11, and f16. The camera comes with what I discovered to be a single zone focus setting: f16 set at 15 feet will put everything from 8 feet to infinity in focus. This zone focus setting is indicated by a red and yellow arrow.

To take a photo requires the following steps:

  1. set the f-stop
  2. set the shutter speed
  3. compose the shot in one window
  4. in the window next to that, focus the frame lines
  5. cock the shutter
  6. take the shot
  7. press the film advance release button, and then
  8. wind to the next frame.

That’s over 8 steps! 4 steps if you’re zone focused and already cocked.

The Leica M film cameras, by comparison, combine with composition and frame line window into one, and doesn’t require shutter cocking. Leicas require 4 steps, or 2 steps if zone focused. I found that most of the action already got away from me, but with practice, it would be possible to take street photos where you have to be quick. Unfortunately, you can’t shoot like Winogrand with this camera where you can shoot 1 to 2 shots a second and let a scene unfold in front of you. If you’re quick, you can maybe do a shot every 5 seconds.

I found the 50mm lens to be very soft past the center area, but such an effect would be great for portraits!

Duboce Park, Argus C3, 50mm f/16, 1/300, JCH Streetpan ISO 400

Like the Leica M-A which I reviewed earlier, this had a time machine effect. I found myself thinking of an earlier time more often than not.

Outer Sunset, Argus C3, 50mm f/16, 1/300, JCH Streetpan ISO 400

When I developed my roll of film, I realized that because of how it loads film on the right side, all the horizontal images were upside down. This doesn’t happen with left side loaded cameras.

Overall: This is the best value range finder that you’ll ever find. Spend 30 or 50 bucks more for a Pentax K1000 or Canon AE-1 to get an SLR with an optically superior 50mm and a light meter.

Pros:
Cheap
Solid, all metal construction
Made in America
Great for beginners
Beautiful, retro design

Cons:
Most of the items sold an eBay are 60 or more years old. They might all require a CLA.
The 50mm “kit lens” is very soft past the center
Too many steps to take a shot
No light meter

Leica M-A Review

The Leica M-A is not a camera. It’s a time machine, a device that can take you back to the 1990s or further back. The only time that I regretted this purchase was when I had to remove insane amounts of dust from the first roll that I shot with this camera using the Tri-X film that came with it. Would I have to remove all this dust every time I shot? I realized that it wasn’t because of the camera but because I had an imperfect film development process. I added a squeegee for removing stabilizer and a fan to dry my negatives and no longer have this dust issue.

Leica M-A, Summicron 50mm, f/11, 1/60s, Tri-X shot at ISO 400

The first camera I owned was a gift from my mother. It was a Minolta XE-7 SLR with a 50mm f/1.7 lens bought used in 1988 from a camera store that no longer exists close to Park Merced in San Francisco. I shot with that camera until December of 1990 when the shutter no longer worked. With this camera I shot hundreds of photos, most of which ended up in the St. Ignatius College Prep year book for 1989 and 1990. The film advance on this camera was like slicing through warm, soft butter. This feature was due in part to a partnership between Leica and Minolta at the time. I felt there wasn’t anything I couldn’t photograph with this camera.

When I was at the Leica Store in San Francisco, I was on the fence between an M6, an MP, and the M-A. The M6 would be used and I’ve had such bad luck with used cameras in the past. The M-P had a light meter, but the battery cover for it felt like plastic. The M-A felt heavy, and its black chrome was smooth and cool to the touch. When I looked through the view finder, I easily focused super fast by lining up the focus patches. (I had read about how to focus a rangefinder before showing up at the store.) When I pressed the shutter, it was so quiet compared to the “THUNK!” of a film SLR. When I tried the film advance, I got that feel of slicing through butter that I had with my Minolta XE-7. For a moment, I felt like I was back in 1989.

The Leica M-A’s frame lines are clean and bright.

Without a moment’s hesitation I purchased the M-A and a 50mm f/2.0 Summicron lens. The Leica rep, Wayne, took me to a brick and carpeted area of the store with a comfy couch to sit on. I unboxed what had just cost me so dearly. What a luxurious experience it was. The camera is encased in what can only be described as a jewel box drawer. I slid the drawer out and there was my camera. Wayne put on the strap as we talked sundries about the photography. I placed the lens on. He showed me how to load the film by putting a fold on the first 1/3 of an inch of the film. Once the film was loaded, I was ready to go.

I left everything (including my phone) at my office close to the Leica Store, and walked around with the M-A like I would have with the Minolta I had in December of 1989. With digital when you press the shutter, sometimes it won’t take a photo because auto-focus is still hunting. With a range finder and manual focusing, the shutter always fires. The shutter always firing inspires confidence in this camera. Eyeing the exposure is something that comes with experience. I know the light in the city really well from shooting with my Pentax K1000 SLR. I knew that in the subway, I’d be shooting at f2.0 and 1/30 of a second. I knew that on cloudy days f/8 at 1/125 was the way to go. And of course, the sunny 16 rule never let me down. If the light was complicated, bracket the shots. I still have trouble with following this bracketing rule. I felt truly at one with my camera, and when I have to use a DSLR camera for work, or projects that demand instant or fast results, I miss my Leica M-A.

Leica M-A next to a photo of Lindsay Ashton, Summicron 50mm, f/4.0, 1/250, TMAX 100

After a few months with my Leica M-A, the pros and cons with a range finder became clear. First the pros:

  • I never worry about having to charge my camera. It just works.
  • The M-mount lenses that I got are simply optically perfect. No more vignetting, barrel or pin-cushion distortion. I can shoot a brick wall with my 28mm and all the lines are perfectly straight.
  • Perfect ergonomics: the camera just fits so well in my hand.
  • There is something about this camera that I can’t pin down. I’ll just say that it seems to have a soul.
  • Compact for travel: The lenses for the Leica M-cameras are small. The same DSLR kit that might require a backpack could fit in my hand and khaki pants pocket.

The cons:

  • Parallax: The closer you get to your subject, the more parallax distortion you get. What this means is that what you see in your frame isn’t necessarily what will show up on film. This is really pronounced at 2 meters or less.
  • Difficult to achieve perfect eye focus for portraits at 75mm and up with the 0.72x magnification in the frame. The sharp portrait with razor thin depth of field that you can achieve with auto-focus designed to detect eyes, e.g. the Fuji XT-2 paired with a 56mm lens, becomes near impossible on a range finder. You have to do focus bracketing to really make sure you nail a shot. The irony here is that you can get better focused portraits with a sub-$1000 Leica M3 with it’s 0.92x magnification in the frame.

Other cons are really more aesthetic and have to do with technology driving aesthetics. For example, most Sony gear heads believe that a photograph taken cleanly at ISO 12800 is better than a grainy one on film at the same ISO even if the composition is better on the film one. Canon gear heads will say that the same photo taken with an L-Lens is better than one without even if both lenses are stopped down enough to remove any distortion at the corners. I’ll save further exploration of these cons in another post.

The market for the M-A must be very narrow. You had to have had shot film before it was abandoned by newspapers in 1999. You had to have had it up to here with social media and the Internet. You had to have had dabbled with experiments in slow culture. Last but not least, you yearn to time travel back to the pre-Internet age. Any one of these experiences already make for a rara avis.

Crowd Sourced Travel with Letskedaddle

On Black Friday, instead of shopping, I decided to #OptOutside along with REI and Letskedaddle. I didn’t buy anything that day and instead decided to enjoy the great outdoors with like-minded folks at Point Reyes National Seashore.

What is Letskedaddle? It is crowd sourced travel. Assume you want to get to Yosemite on a certain date. You announce your intention on Letskedaddle and if enough people want to go on that date (at least 10), your trip and everybody else’s gets funded. It’s a cheap and more convenient alternative. It can take 10 to 12 hours to get to Yosemite if you take public transportation from San Francisco.

boarding the bus to adventure
Crowd Sourced Travel

On Black Friday, the crew I was with ended up going to Point Reyes. We boarded at REI in San Francisco and in 90 minutes were at a trailhead leading to creeks, forests and coastal views. The forest was so lush and green! It was quite the treat to get away from the city.

Lush greenery awaits!
Lush Greenery

Are you looking for a great way to get to hard to reach places with friends? Check out Letskedaddle.

A Review of the Mamot Plasma 30 Sleeping Bag

I felt a bit apprehensive before purchasing the Plasma 30 bag. It’s purpose seemed really narrow: Hikes where the temperature might be in the upper 60s and where the nights could plunge to around freezing, an alpine bag for early spring and late fall.

When I hiked to Discovery Point in Crater Lake National Park, I was glad I had this ultralight and warm, down bag. The temperature was around 32 degrees, and I needed no more than my long-underwear and baselayer to keep warm. I took advantage of such well thought out and luxurious features as the draft collar, and hood. At 32 degrees I was very warm.

At 1.44 pounds this is also the lightest 3 season bag I’ve ever used. In off-season Alpine hikes, I’m very confident this is the bag to use.
For winter, I would use the Lamina Z Torch sleeping bag which weighs 3.94 pounds. It’s rated to 5 degrees Fahrenheit, and kept me very warm during New Year’s Eve in Yosemite when it was around 9 degrees.

Should you buy a Marmot Plasma 30 Bag? I think it’s the sort of bag for ultralight-backpacking from Spring to Fall.