Stand Developing Ilford FP4+ in Rodinal 1:100

I stand developed Ilford FP4+ ISO 125 in 500ml of 68F, 1:100 Rodinal for an hour. I was expecting a very fine grain, and high amount of accutance but was slightly disappointed. The highlighting and gradient effect you expect from stand development still blew me away. In the highlights the grain was fine, but the midtones and shadow areas gave medium grain that one would find in pushed film. With all this said, when looking at a magnifier, these were the sharpest negatives I had ever seen. The quirkiness of the results will make me think twice before using it as a film for landscapes, but the detail I got from the close up shots with bokeh make me see the potential for portraits.

Unfortunately, the low-end Epson V600 scanner I had wasn’t able to capture the subtleties in highlights that I could see in the negative. I’m pretty sure that as a print the highlights will be there, and if not, a little dodging should fix that.

Here’s a photo shot with Ilford HP5+ 400 pushed to ISO 1600 stand developed in 500ml of 68F, 1:100 Rodinal for 2 hours. This shot is exceedingly sharp thanks to the lens, and stand development process. However, the grain prevails everywhere. Some like this; others don’t. I am a fan of grain, but also understand the need for fine or undetectable grain for portraits.

Leica M-A, 50mm Summicron, f/2, 1/500, Ilford HP5+ ISO 1600

Here’s a photo shot with Ilford FP4+ ISO 125 in 500ml of 68F, 1:100 Rodinal stand developed for an hour. You can see the fine detail and sharpness, but the bokeh area has a bit of grain.

Leica M-A, 50mm Summicron, f/2, 1/500, Ilford FP4+ ISO 125

If you compare the first two photos carefully, you can see that the Ilford FP4+ definitely has the finer grain, but not as fine as one would expect. I know I’m not comparing apples and oranges, but Portra 160 when well or slightly over-exposed exhibits no detectable grain.

Here’s another photo shot with Ilford FP4+ ISO 125 in 500ml of 68F, 1:100 Rodinal stand developed for an hour. This is a photo of a very popular spot for photographers, Sutro Baths in San Francisco. There were at least 2 couple photography sessions happening while I was here.

Leica M-A, 50mm Summicron, f/16, 1/125, Ilford FP4+ ISO 125

So I’m really not sold on Ilford FP4+ for landscapes, but close ups and portraiture would seem to be its strength. I was surprised by the amount of grain, too. I am not sure I would buy this film again.

A Review of Blade Runner 2049

I’ve seen Sicario and Arrival, and both had far more emotional resonance than Blade Runner, and Blade Runner 2049. In Sicario, I felt the loss of innocence of Agent Kate Macer played by Emily Blunt. In Arrival, I mourned for Louise Banks’ daughter which set the emotional tone for the rest of the film. These are both masterful films by Denis Villeneuve who is the director for Blade Runner 2049.

Neither Blade Runner had that emotional resonance. I thought Roy Batty’s poetic language before dying was beautiful. Gaff’s line, “Too bad she won’t live, but then again who does?” still sticks with me for its sang froid. I thought the “love” scene between Rachel and Deckard which teetered between rejection, and near rape, made me feel very uncomfortable. Yet, where was the emotional core?

The sequel to Blade Runner, Blade Runner 2049, is even worse at evoking an emotional response. Like a reverse Voigt-Kampf test, if this movie left you feeling nothing, then you’re probably human. Yet, I can’t dismiss it. There are certain visuals that haunt me. There’s a scene where Officer K (Ryan Gosling) arrives at a dystopic orphanage, that looks more like a junk yard, where a sea of charges are made to take apart green computer boards. This harkened back to a visual that might more be seen in Alfonso Cuaron’s Children of Men.

I could not find fault with the world-building which extends Ridley Scott’s original vision, and at the same time has a Villeneuve and Cuaron feel to it. The visuals delighted. The world is headed to the ecological breaking point: sea walls to protect the city because the glaciers have melted.

The San Pedro Sea Wall in Blade Runner 2049

The philosophical questions raised by this Blade Runner sequel are the same as the last one (can an android be human?) except with the addition of the idea of a skin job revolution derivative of Battle Star Galactica (RDM).

It just gets worse and worse, both in Hollywood, and in dystopias, so maybe the replicants should take over.

A Review of the Argus C3

The cheapest range finder that I could find on eBay was this Argus C3. I saw it used as a prop in the movie, Carol, and saw that World War II photos were taken with it by infantryman, Tony Vaccaro.

The Argus C3, a 4 to 8 step shooter

You can get this range finder right now on eBay for between $14.95 and $40.00. I got to spend a day shooting this wonderful piece of machinery lovingly named, “The Brick.”

Before I could shoot it, I had to adjust the focusing which was off. Youtube has a plethora of videos to help you with this and adjusting framelines if needed. Once the focus was adjusted, I loaded the camera with JCH Streetpan.

I made my way to the N-Judah Stop.

Argus C3, 50mm, f/16, 1/300, JCH StreetPan ISO 400

The shutter speeds for this camera are 1/300, 1/100, 1/50, 1/25 and 1/10. The f-stops for the 50mm lens it comes with are f3.5, f4, f5.6, f8, f11, and f16. The camera comes with what I discovered to be a single zone focus setting: f16 set at 15 feet will put everything from 8 feet to infinity in focus. This zone focus setting is indicated by a red and yellow arrow.

To take a photo requires the following steps:

  1. set the f-stop
  2. set the shutter speed
  3. compose the shot in one window
  4. in the window next to that, focus the frame lines
  5. cock the shutter
  6. take the shot
  7. press the film advance release button, and then
  8. wind to the next frame.

That’s over 8 steps! 4 steps if you’re zone focused and already cocked.

The Leica M film cameras, by comparison, combine with composition and frame line window into one, and doesn’t require shutter cocking. Leicas require 4 steps, or 2 steps if zone focused. I found that most of the action already got away from me, but with practice, it would be possible to take street photos where you have to be quick. Unfortunately, you can’t shoot like Winogrand with this camera where you can shoot 1 to 2 shots a second and let a scene unfold in front of you. If you’re quick, you can maybe do a shot every 5 seconds.

I found the 50mm lens to be very soft past the center area, but such an effect would be great for portraits!

Duboce Park, Argus C3, 50mm f/16, 1/300, JCH Streetpan ISO 400

Like the Leica M-A which I reviewed earlier, this had a time machine effect. I found myself thinking of an earlier time more often than not.

Outer Sunset, Argus C3, 50mm f/16, 1/300, JCH Streetpan ISO 400

When I developed my roll of film, I realized that because of how it loads film on the right side, all the horizontal images were upside down. This doesn’t happen with left side loaded cameras.

Overall: This is the best value range finder that you’ll ever find. Spend 30 or 50 bucks more for a Pentax K1000 or Canon AE-1 to get an SLR with an optically superior 50mm and a light meter.

Pros:
Cheap
Solid, all metal construction
Made in America
Great for beginners
Beautiful, retro design

Cons:
Most of the items sold an eBay are 60 or more years old. They might all require a CLA.
The 50mm “kit lens” is very soft past the center
Too many steps to take a shot
No light meter

Leica M-A Review

The Leica M-A is not a camera. It’s a time machine, a device that can take you back to the 1990s or further back. The only time that I regretted this purchase was when I had to remove insane amounts of dust from the first roll that I shot with this camera using the Tri-X film that came with it. Would I have to remove all this dust every time I shot? I realized that it wasn’t because of the camera but because I had an imperfect film development process. I added a squeegee for removing stabilizer and a fan to dry my negatives and no longer have this dust issue.

Leica M-A, Summicron 50mm, f/11, 1/60s, Tri-X shot at ISO 400

The first camera I owned was a gift from my mother. It was a Minolta XE-7 SLR with a 50mm f/1.7 lens bought used in 1988 from a camera store that no longer exists close to Park Merced in San Francisco. I shot with that camera until December of 1990 when the shutter no longer worked. With this camera I shot hundreds of photos, most of which ended up in the St. Ignatius College Prep year book for 1989 and 1990. The film advance on this camera was like slicing through warm, soft butter. This feature was due in part to a partnership between Leica and Minolta at the time. I felt there wasn’t anything I couldn’t photograph with this camera.

When I was at the Leica Store in San Francisco, I was on the fence between an M6, an MP, and the M-A. The M6 would be used and I’ve had such bad luck with used cameras in the past. The M-P had a light meter, but the battery cover for it felt like plastic. The M-A felt heavy, and its black chrome was smooth and cool to the touch. When I looked through the view finder, I easily focused super fast by lining up the focus patches. (I had read about how to focus a rangefinder before showing up at the store.) When I pressed the shutter, it was so quiet compared to the “THUNK!” of a film SLR. When I tried the film advance, I got that feel of slicing through butter that I had with my Minolta XE-7. For a moment, I felt like I was back in 1989.

The Leica M-A’s frame lines are clean and bright.

Without a moment’s hesitation I purchased the M-A and a 50mm f/2.0 Summicron lens. The Leica rep, Wayne, took me to a brick and carpeted area of the store with a comfy couch to sit on. I unboxed what had just cost me so dearly. What a luxurious experience it was. The camera is encased in what can only be described as a jewel box drawer. I slid the drawer out and there was my camera. Wayne put on the strap as we talked sundries about the photography. I placed the lens on. He showed me how to load the film by putting a fold on the first 1/3 of an inch of the film. Once the film was loaded, I was ready to go.

I left everything (including my phone) at my office close to the Leica Store, and walked around with the M-A like I would have with the Minolta I had in December of 1989. With digital when you press the shutter, sometimes it won’t take a photo because auto-focus is still hunting. With a range finder and manual focusing, the shutter always fires. The shutter always firing inspires confidence in this camera. Eyeing the exposure is something that comes with experience. I know the light in the city really well from shooting with my Pentax K1000 SLR. I knew that in the subway, I’d be shooting at f2.0 and 1/30 of a second. I knew that on cloudy days f/8 at 1/125 was the way to go. And of course, the sunny 16 rule never let me down. If the light was complicated, bracket the shots. I still have trouble with following this bracketing rule. I felt truly at one with my camera, and when I have to use a DSLR camera for work, or projects that demand instant or fast results, I miss my Leica M-A.

Leica M-A next to a photo of Lindsay Ashton, Summicron 50mm, f/4.0, 1/250, TMAX 100

After a few months with my Leica M-A, the pros and cons with a range finder became clear. First the pros:

  • I never worry about having to charge my camera. It just works.
  • The M-mount lenses that I got are simply optically perfect. No more vignetting, barrel or pin-cushion distortion. I can shoot a brick wall with my 28mm and all the lines are perfectly straight.
  • Perfect ergonomics: the camera just fits so well in my hand.
  • There is something about this camera that I can’t pin down. I’ll just say that it seems to have a soul.
  • Compact for travel: The lenses for the Leica M-cameras are small. The same DSLR kit that might require a backpack could fit in my hand and khaki pants pocket.

The cons:

  • Parallax: The closer you get to your subject, the more parallax distortion you get. What this means is that what you see in your frame isn’t necessarily what will show up on film. This is really pronounced at 2 meters or less.
  • Difficult to achieve perfect eye focus for portraits at 75mm and up with the 0.72x magnification in the frame. The sharp portrait with razor thin depth of field that you can achieve with auto-focus designed to detect eyes, e.g. the Fuji XT-2 paired with a 56mm lens, becomes near impossible on a range finder. You have to do focus bracketing to really make sure you nail a shot. The irony here is that you can get better focused portraits with a sub-$1000 Leica M3 with it’s 0.92x magnification in the frame.

Other cons are really more aesthetic and have to do with technology driving aesthetics. For example, most Sony gear heads believe that a photograph taken cleanly at ISO 12800 is better than a grainy one on film at the same ISO even if the composition is better on the film one. Canon gear heads will say that the same photo taken with an L-Lens is better than one without even if both lenses are stopped down enough to remove any distortion at the corners. I’ll save further exploration of these cons in another post.

The market for the M-A must be very narrow. You had to have had shot film before it was abandoned by newspapers in 1999. You had to have had it up to here with social media and the Internet. You had to have had dabbled with experiments in slow culture. Last but not least, you yearn to time travel back to the pre-Internet age. Any one of these experiences already make for a rara avis.

Ted Chin Is A Photo Stealer

Update (7/26/2019): The photo stealer now goes by the IG handle tedslittledream – also, this douchebag had the gall to throw a photowalk on the very day I moved to Houston. Anyways, I got news for you haters, I’m back in San Francisco, and have been since November. 😛

If you look at page 32 of issue number one of the Art of Visuals print magazine, you will see at the bottom left, the Aurora Borealis veiled with some wispy clouds and a silhouette. Below this you will see the supposed name of the author, Ted Chin, @eye.c on Instagram. The photo of the Aurora Borealis is not his, and what is in this magazine is a crude attempt at art and plain theft. You see… Ted Chin is a photo stealer. What is more is that he is simply amoral and will do anything to get ahead.

The real photographer of this photo is Scott Slone. How did I figure this out? When I went to the Art of Visuals launch party in San Francisco, my friendship with Ted was already on the outs. You see, I gave him and Brock Sanders the @igerssf account. The moment I gave them this gift of friendship, they totally ignored me and never wanted to hang out with me again. I was duped, and all the times they called me friend was really just lies.

Before being frozen out, Ted and I would have debates. Ted showed me how following and unfollowing could grow an account really quickly. I didn’t think that was a way to grow community, but he really didn’t care about that.

So there I was at the Art of Visuals launch party about a year and a half ago… I thumbed through the magazine and there was a photo of the Aurora Borealis apparently by Ted Chin. No way. He never traveled that far north or anything. I know how tough it is to get these shots, too, because I was in Iceland freezing in the middle of the night just to capture the Aurora. When I got home and got the digital version of the magazine, I ran it through tineye.com and it showed the original photo was created by Scott Slone, @scottslone.

A few days later, I posted my discovery on Instagram.

One user pointed out that on his feed he even went so far as to claim that he took the photo with his Canon.

In fact this interesting exchange occurred:

After this revelation, Ted decided to use his ill-gotten position as a moderator to block me from the @igerssf account. He also decided to go ahead and steal a bunch more photos.

Ted has a video where he’ll show how he innocently goes to a site like Unsplash, and gets the photos there, but if you talk to any of his victims they will tell you that Ted is one of many photo stealers that have stolen their work. Moreover, that Ted is appropriating their images from shady photo dealers.

Scott gave Ted permission to use his photo after the fact, but I believe this was a mistake. This allowed Ted to believe that he could get away with his photo stealing with impunity.

Also, Scott Slone isn’t the only one he’s stolen from.

He stole a photo from someone on Flickr, and this is a response that I received when user, anoldent, found out his work was being sold:

Recently, as of this year, he’s used a stolen photo twice without attribution on the Photoshop account and on a Lightroom and Chill ad:

Whenever I run into Ted at Instameets, I keep my mouth shut. Why bother with the drama? I know Ted trash talks me to other people, and has supporters that are pretty huge. I know that he can use his huge following against me in the same way Trump will use his Twitter followers to bully folks that support good causes like Black Lives Matter. But I also know a ton of those followers are fake or bots or bought!

Here’s Ted’s account on the 31st of January, 2017. It grew by 1500 followers. How was this possible?

I did a little digging.

I found out that you can get your photo featured on Lovewatts for $600. I guess 1500 followers in one day can be bought for $450.

Ted has gone on to be a brand ambassador for Photoshop. Some people would report Ted as stealing their photos and they would get taken down as part of the DMCA. Large corporations though, they see someone with influence, and they don’t care if he’s a photo stealer or not. In my eyes, Ted Chin will always be a photo stealer.

Chasing Fog in the San Francisco Bay Area

Enough folks have asked me how I chase fog shots that I’ve added useful tools / links I use to chase fog.

1) Is the government saying there will be morning fog? Check here first!

2) SFO Aviation data: If it’s good enough for our planes, then it’s good enough for you. Look for “Ceiling” in the forecast. If it’s 800 feet or below, then there’s a good chance of low fog. There might not be fog, but if there is it will be low. I got a shot with a 900 feet ceiling but that more had to do with extreme luck. A ceiling of 1500 feet is great for Mount Tamalpais.

Golden Gate Bridge at Night with Fog

3) The “weatherforyou.com” site is almost useful. I just wish I could zoom into the maps. It shows you fog cover for different blocks of time.

4) Also, it helps to consult a webcam.

5) There’s also the Escaype App but you gotta pay for it.

I hope this helps. Chasing fog is like hitting in baseball. If you get it 3 out of 10 times, then you’re a success. There’s nothing like seeing the fog roll in low into the San Francisco Bay during dusk or dawn.

Using the Fuji X-Pro2 at Zion and the Red Cliffs of Southern Utah

Most travel photographers try to stick to a light, all-in-one solution like a zoom lens. The problem with most zoom lenses is that you give up image quality and the speed of the lens for the sake of portability. This is why when I was invited by and partnered with Inside Out Media, AToZion, and Travelmindset to explore southern Utah, I used it as an opportunity to travel with a light kit of a Fuji X-pro2, and two prime lenses: a 14mm f2.8 and 35mm f2 lens (21mm and 50mm full frame equiv).

The Red Cliffs
The Red Cliffs, Fujifilm X-Pro2, 35mm, 1/125, f/16, ISO 100

The first spot I checked out was with a group at an Instameet at the Red Cliffs. We hiked from the Sand Cove Trailhead to Primitive Camp, and then onward to the Babylon Arch. There’s more info about this hidden gem on the “Visit St. George” website. Finding the arch was a bit difficult, so I’ve supplied the exact GPS coordinates as well as a link to Google maps here:

N 37 12.145′, W 113 20.095′

The Babylon Arch, Fujifilm X-Pro2, 35mm, 1/125, f/16, ISO 100

The great thing about the Red Cliffs is a spot called Primitive Camp. You can basically hike or 4 wheel drive your way here and camp without a permit. The only amenities are a fire pit, but what else do you need when surrounded by so much beauty.

Campfire at Primitive Camp, Fujifilm X-Pro2, 35mm, 1/60, f/2, ISO 12800

After exploring, you can build a campfire and enjoy s’mores!

While exploring the Red Cliffs, I found that the X-Pro2 handled really great. The first thing that struck me was how light it was. Also, thanks to weather sealing on the camera and 35mm f2 WR lens, I didn’t worry about getting dust or sand into my gear at all. The ISO range was more than enough for capturing scenes during the day and night.

During my stay in the St. George area, I camped most of the time in Zion at South Camp, and stayed at St. George Inn & Suites at the start and end of my trip. I wanted to test out my new 14mm f2.8 lens for astrophotography. In hindsight, the 16mm f1.4 would have been the better choice. It lets in more light, but I also wanted something wide enough to give the user more of a feeling of being there.

Getting a campsite without reservations is quite the ordeal in Zion. I showed up at South Camp at around 5:30am thinking I would be first in line. I was totally wrong. There were already 30 people ahead of me. Camp registration opens at 7am. After waiting 3 hours, I luckily got a spot!

After setting up camp, I explored the valley a bit.

Fujifilm X-Pro2, 14mm, f/8, 1/125 with a polarizer

When it got to be night, I ventured along the Pa’rus trail until I found a spot by the Virgin River.

Fujifilm X-Pro2, 14mm, f/2.8, 20s, ISO 3200

To learn more about St. George and its environs, check out the Visit St. George website.

How to Create Sharp Photos for Instagram or Facebook

Taking the Shot

  1. High enough shutter speed? E.G. 1/1000 instead of 1/125 to remove motion blur. If you have to use a slow shutter speed, are you using image stabilization or a tripod? If you are using a tripod are using mirror lock up on a DSLR to prevent mirror slap?
  2. Stopped down enough to be sharp? Most zooms need to be stopped down 3 to 5 stops to achieve maximum sharpness, too wide or too narrow, then the image is too soft. Legendary Canon L, Zeiss or Leica lenses though do not have this problem.
  3. Is it a hazy day? Images are most sharp right after a storm. There’s no dust in the air.
  4. Are you using a polarizer? Sometimes this can sharpen an image.
  5. Are you using too many filters? Stacked filters degrade sharpness.
  6. Is your lens clean?
  7. Does your composition present a contrast between in focus and out of focus elements. An image looks sharper when there are actually some blurred parts, e.g. booked.
  8. Are you using film? If so, the lower the ISO, the less grain and the sharper the image is. ISO 100 is great for sharp portraits.

Before

Before sharpening in post

After

After sharpening
Try these settings for clarity, vibrance and saturation.

Post-Processing the Shot

  • Clarity: 37
  • Vibrance: 14
  • Saturation: 7

Be sure to use sharpening. In the blog post below, you’ll see why:

Lightroom Workflow

YMMV, and these settings are what I use for golden hour. Milky way, or other scenes will have different settings.

If you are posting to Facebook, you need to use Photoshop, and use the sharpen filter twice.

If you are posting to Instagram, you need to be aware that Instagram might actually degrade images.

Here’s the final product of a 600 second long exposure using a 16mm Rokinon lens at f/2.0, ISO 1600, on my old, but trusty Canon T3i.

Mono Lake, 2017

Mono Lake, 2017

Got any questions? Feel free to ask in the comments or DM me on Instagram.

Automation and Gaming of Instagram

NOTE: If you are reading this in May 2017, this was written in January 2017. I now have a decent crew of folks to shoot with, and am not using any marketing on my account anymore.

Instagram punishes users for experimentation unless it’s through its stories. Basically when you create an account the more photos you add, the more locked into an audience and style you get. If you deviate from that style, like I did for two weeks in 2015, you can lose 25% of your followers. The right response to this is to-heck with those followers. A more thought out response is why doesn’t Instagram just send users that would like the change your way?

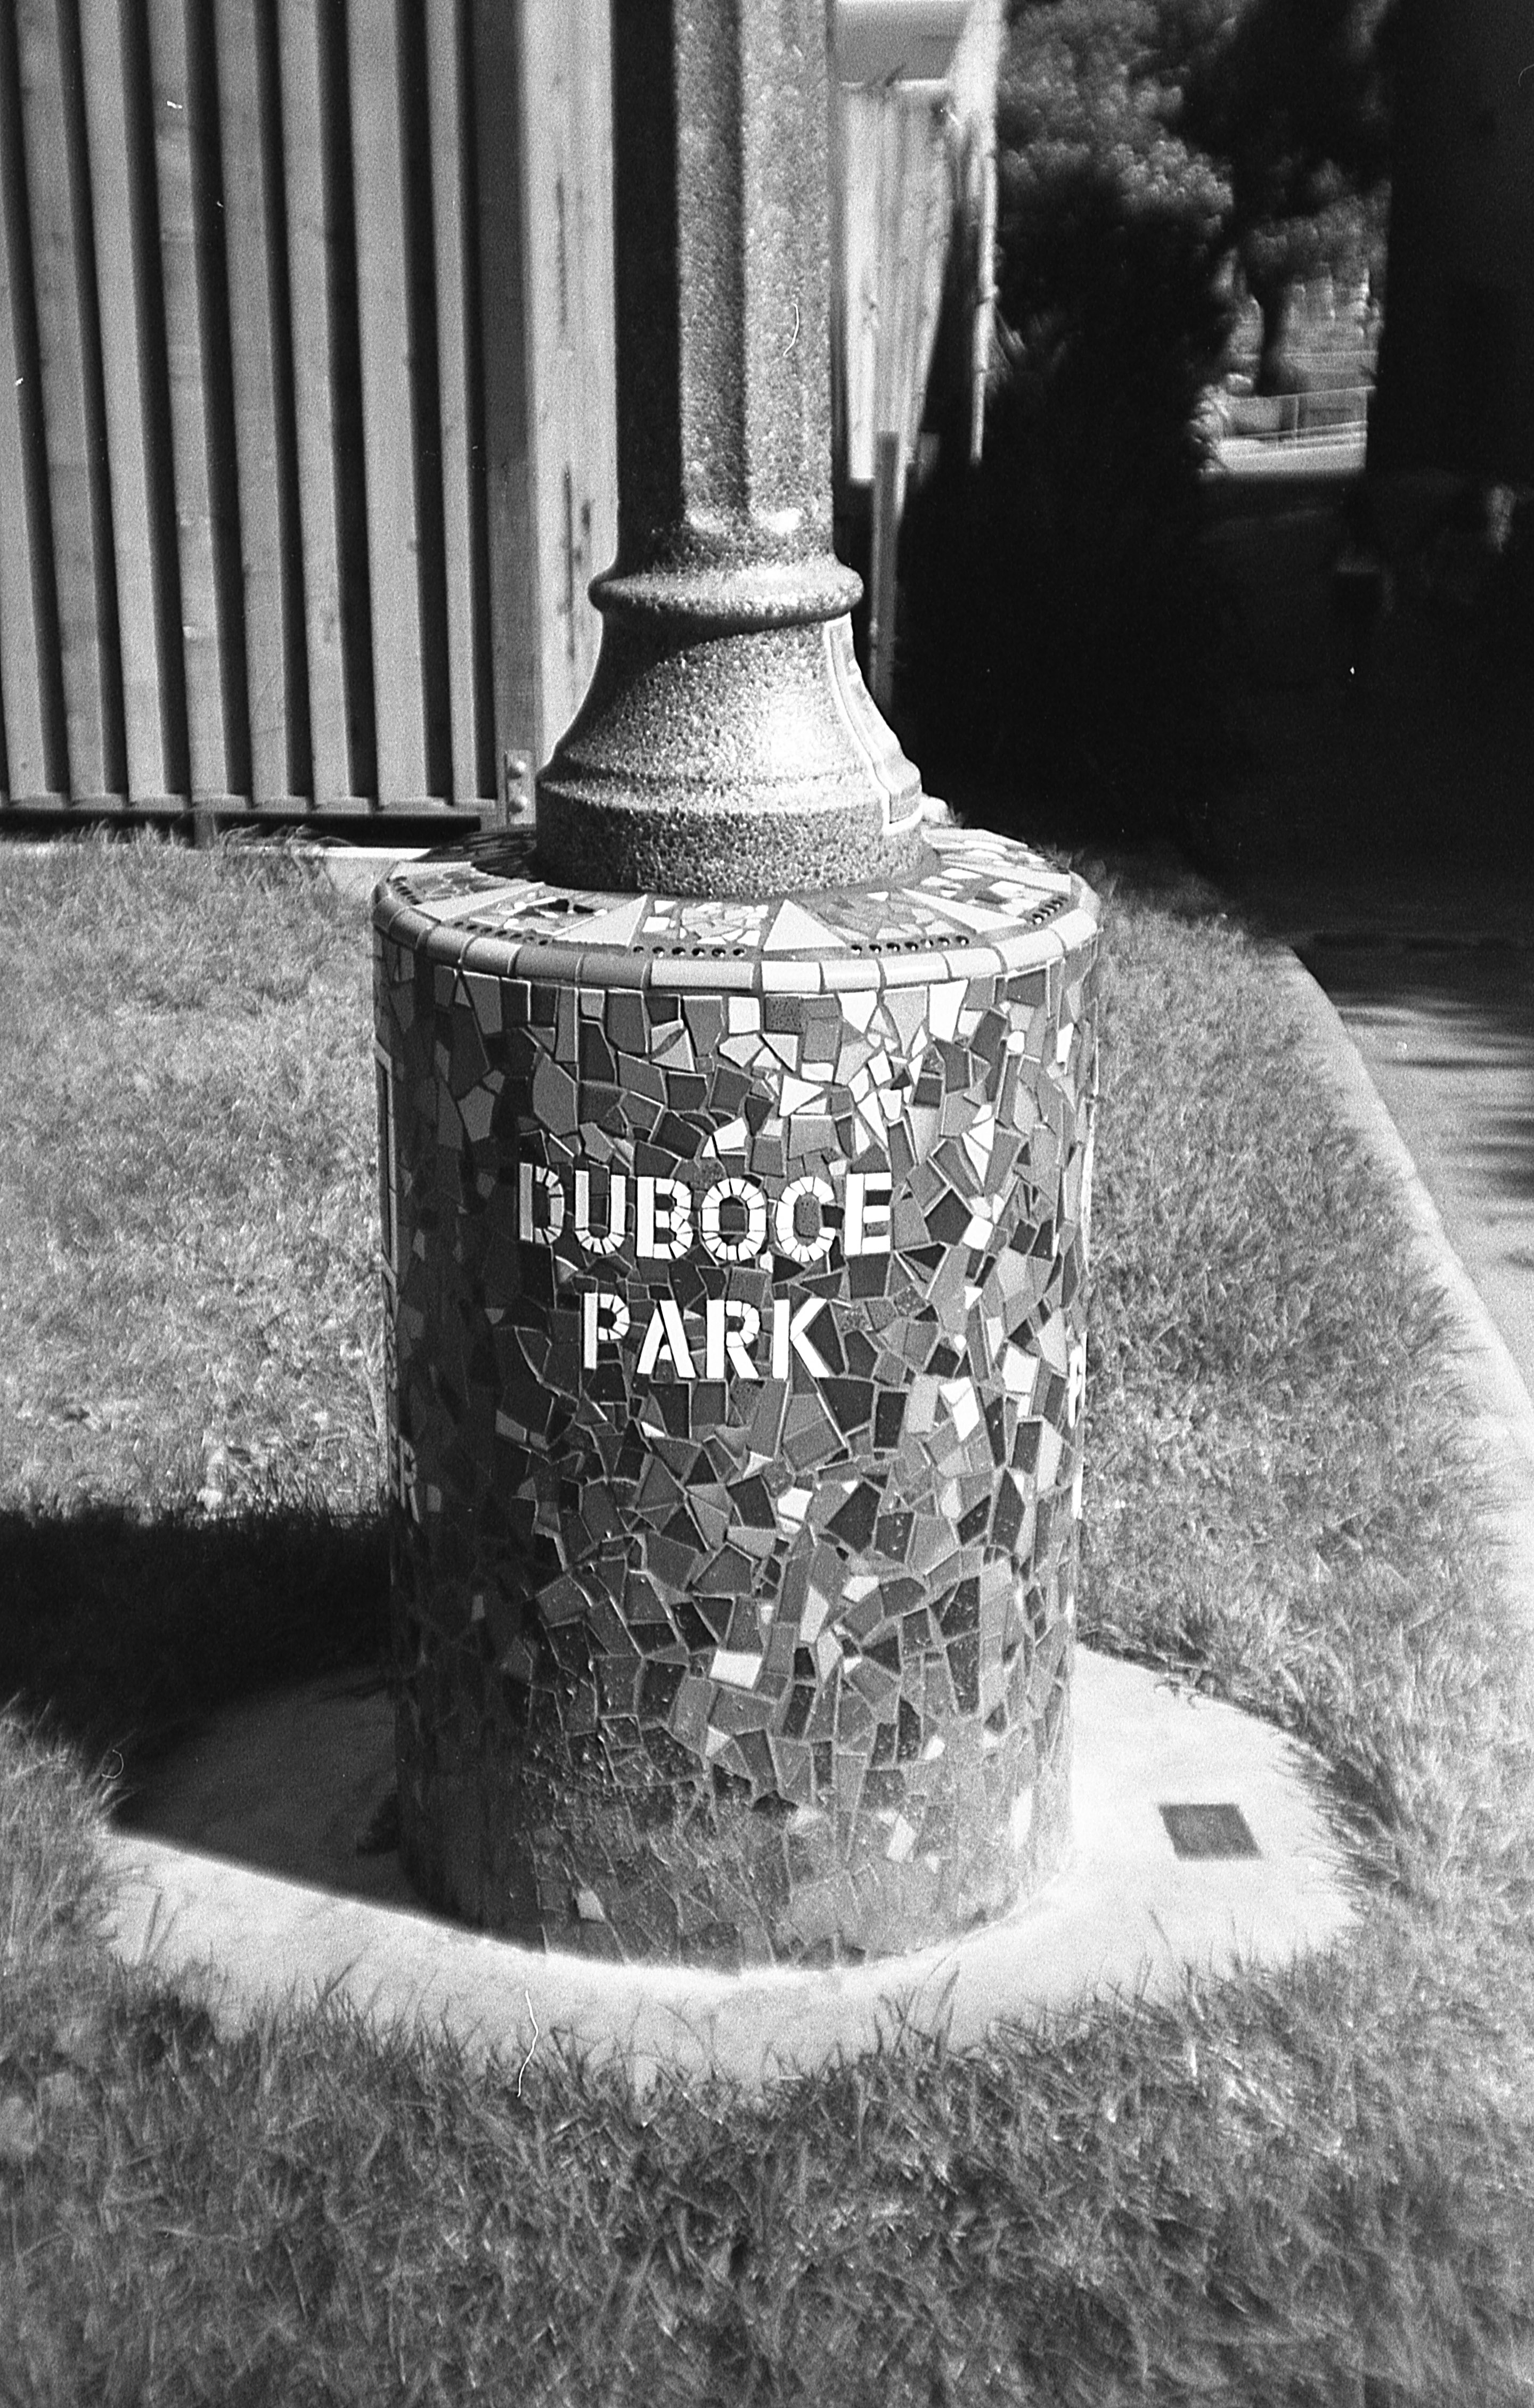
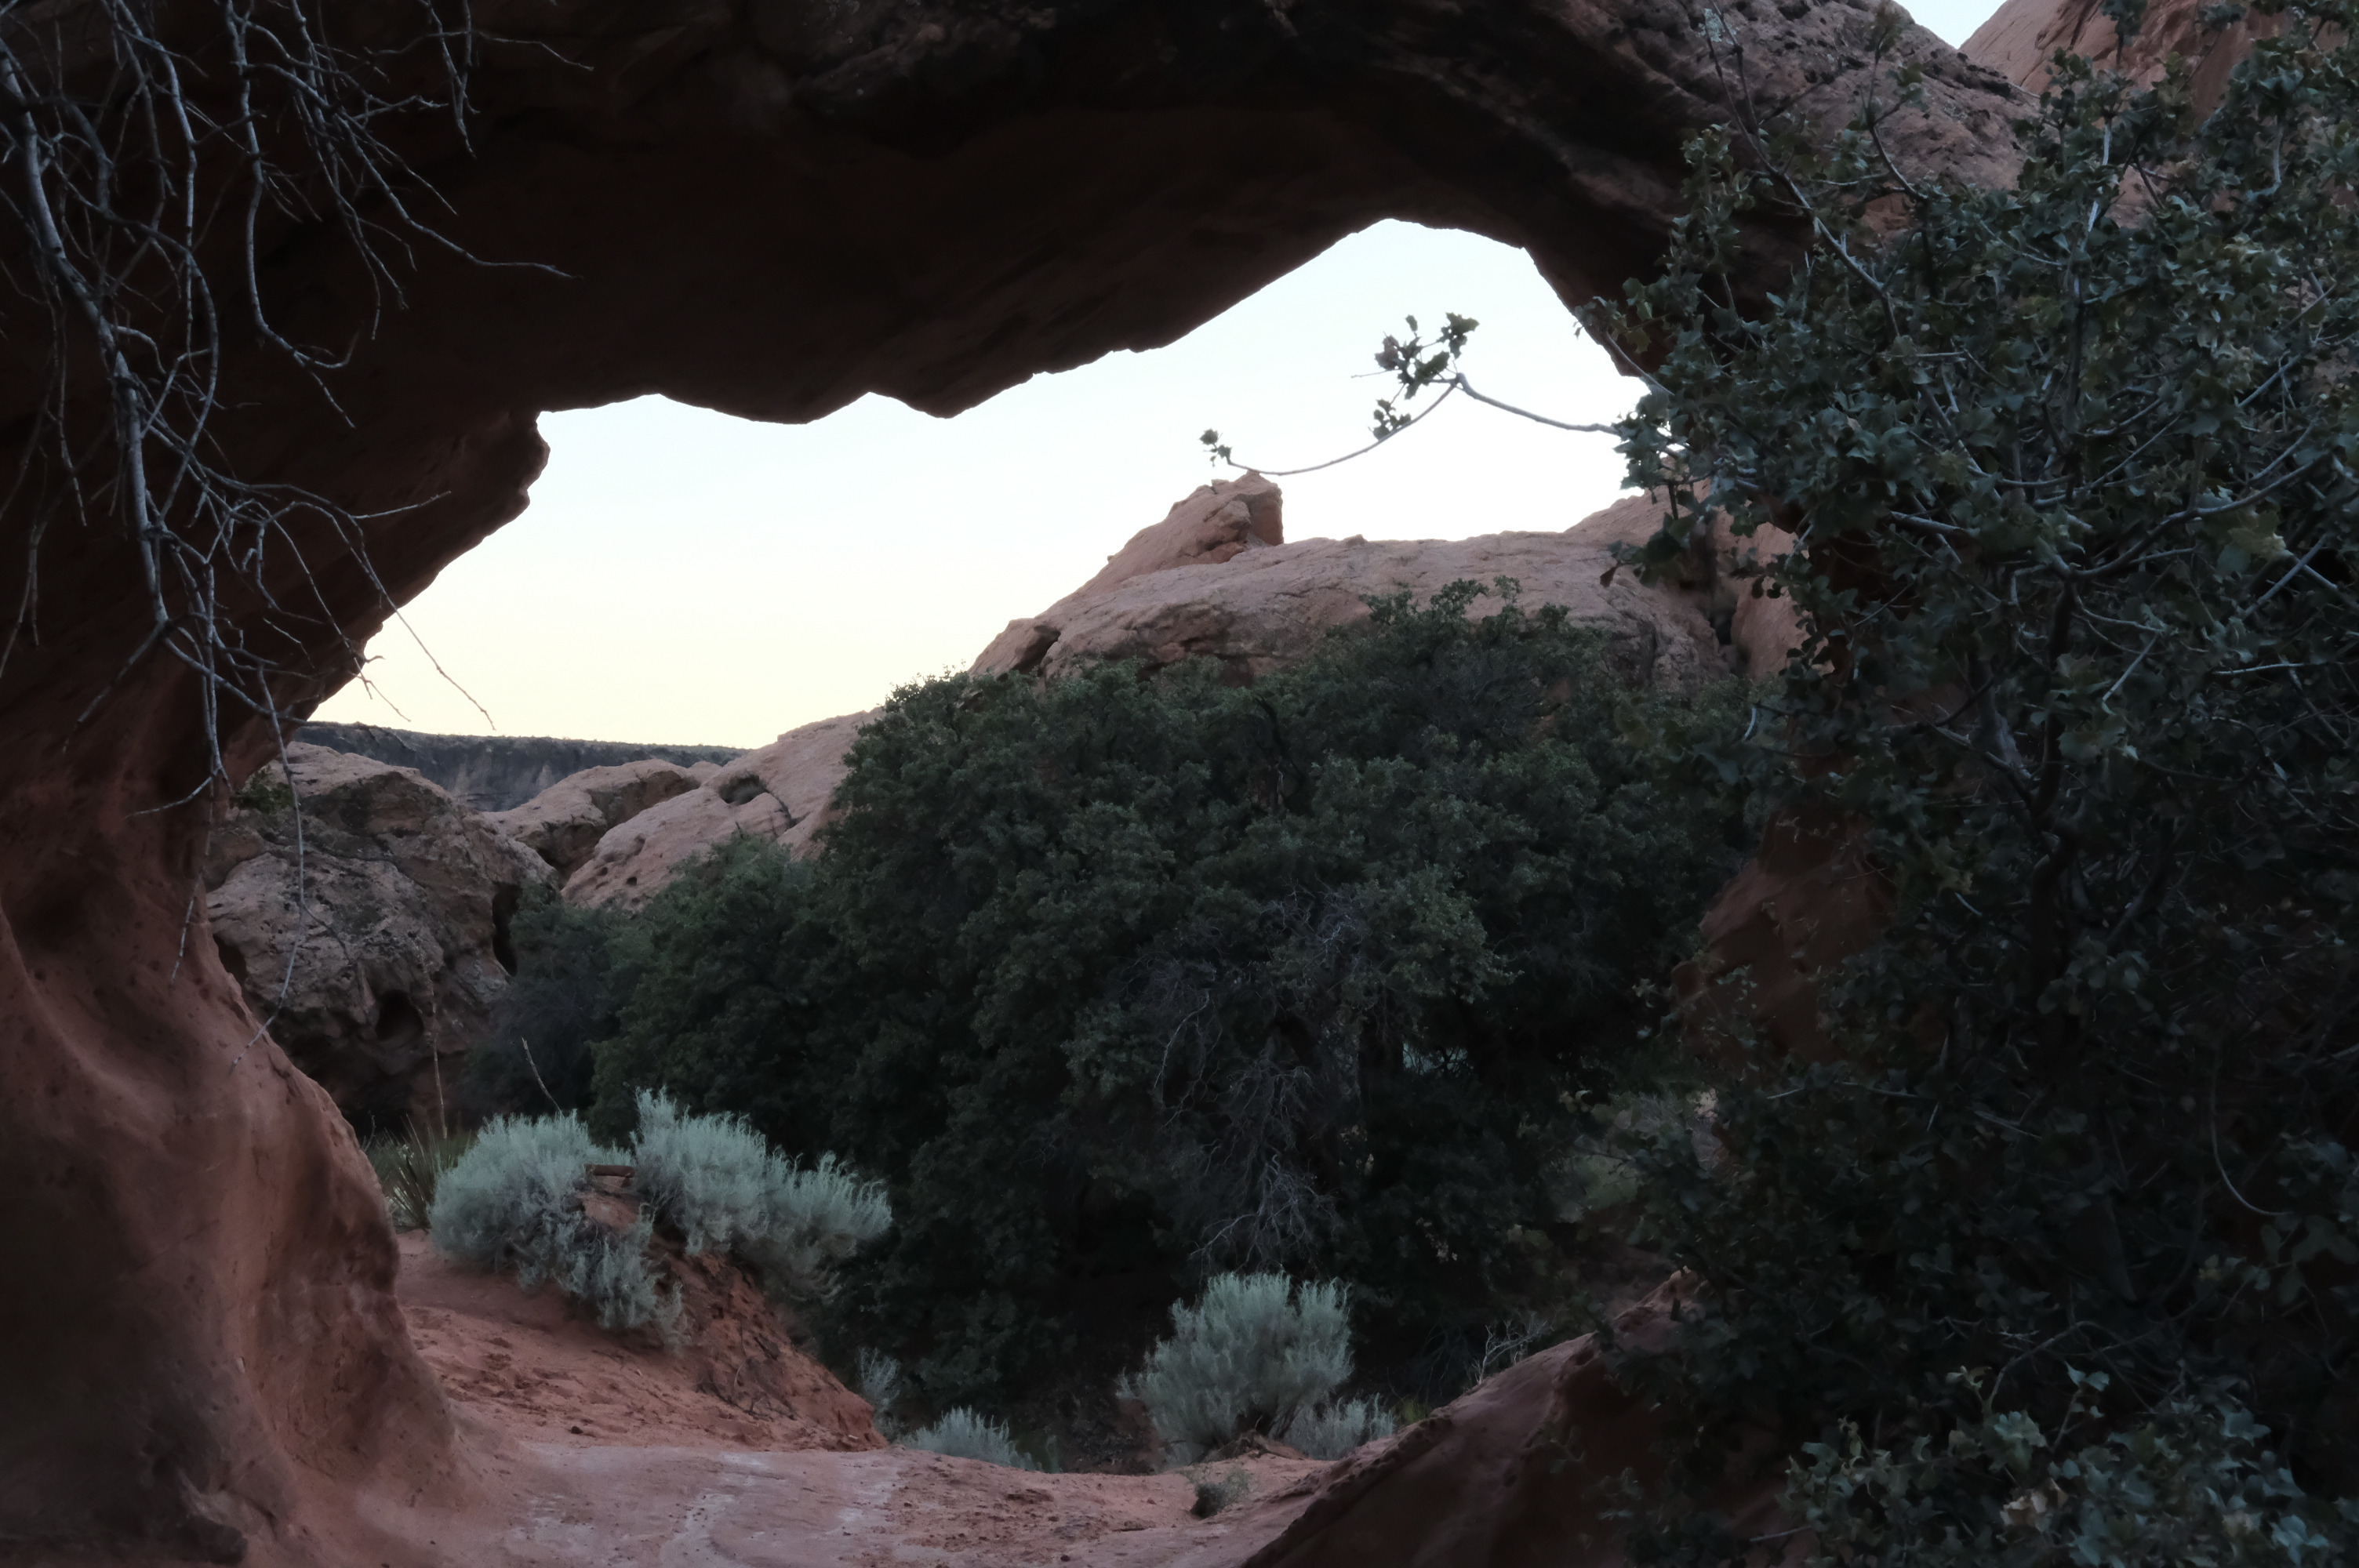
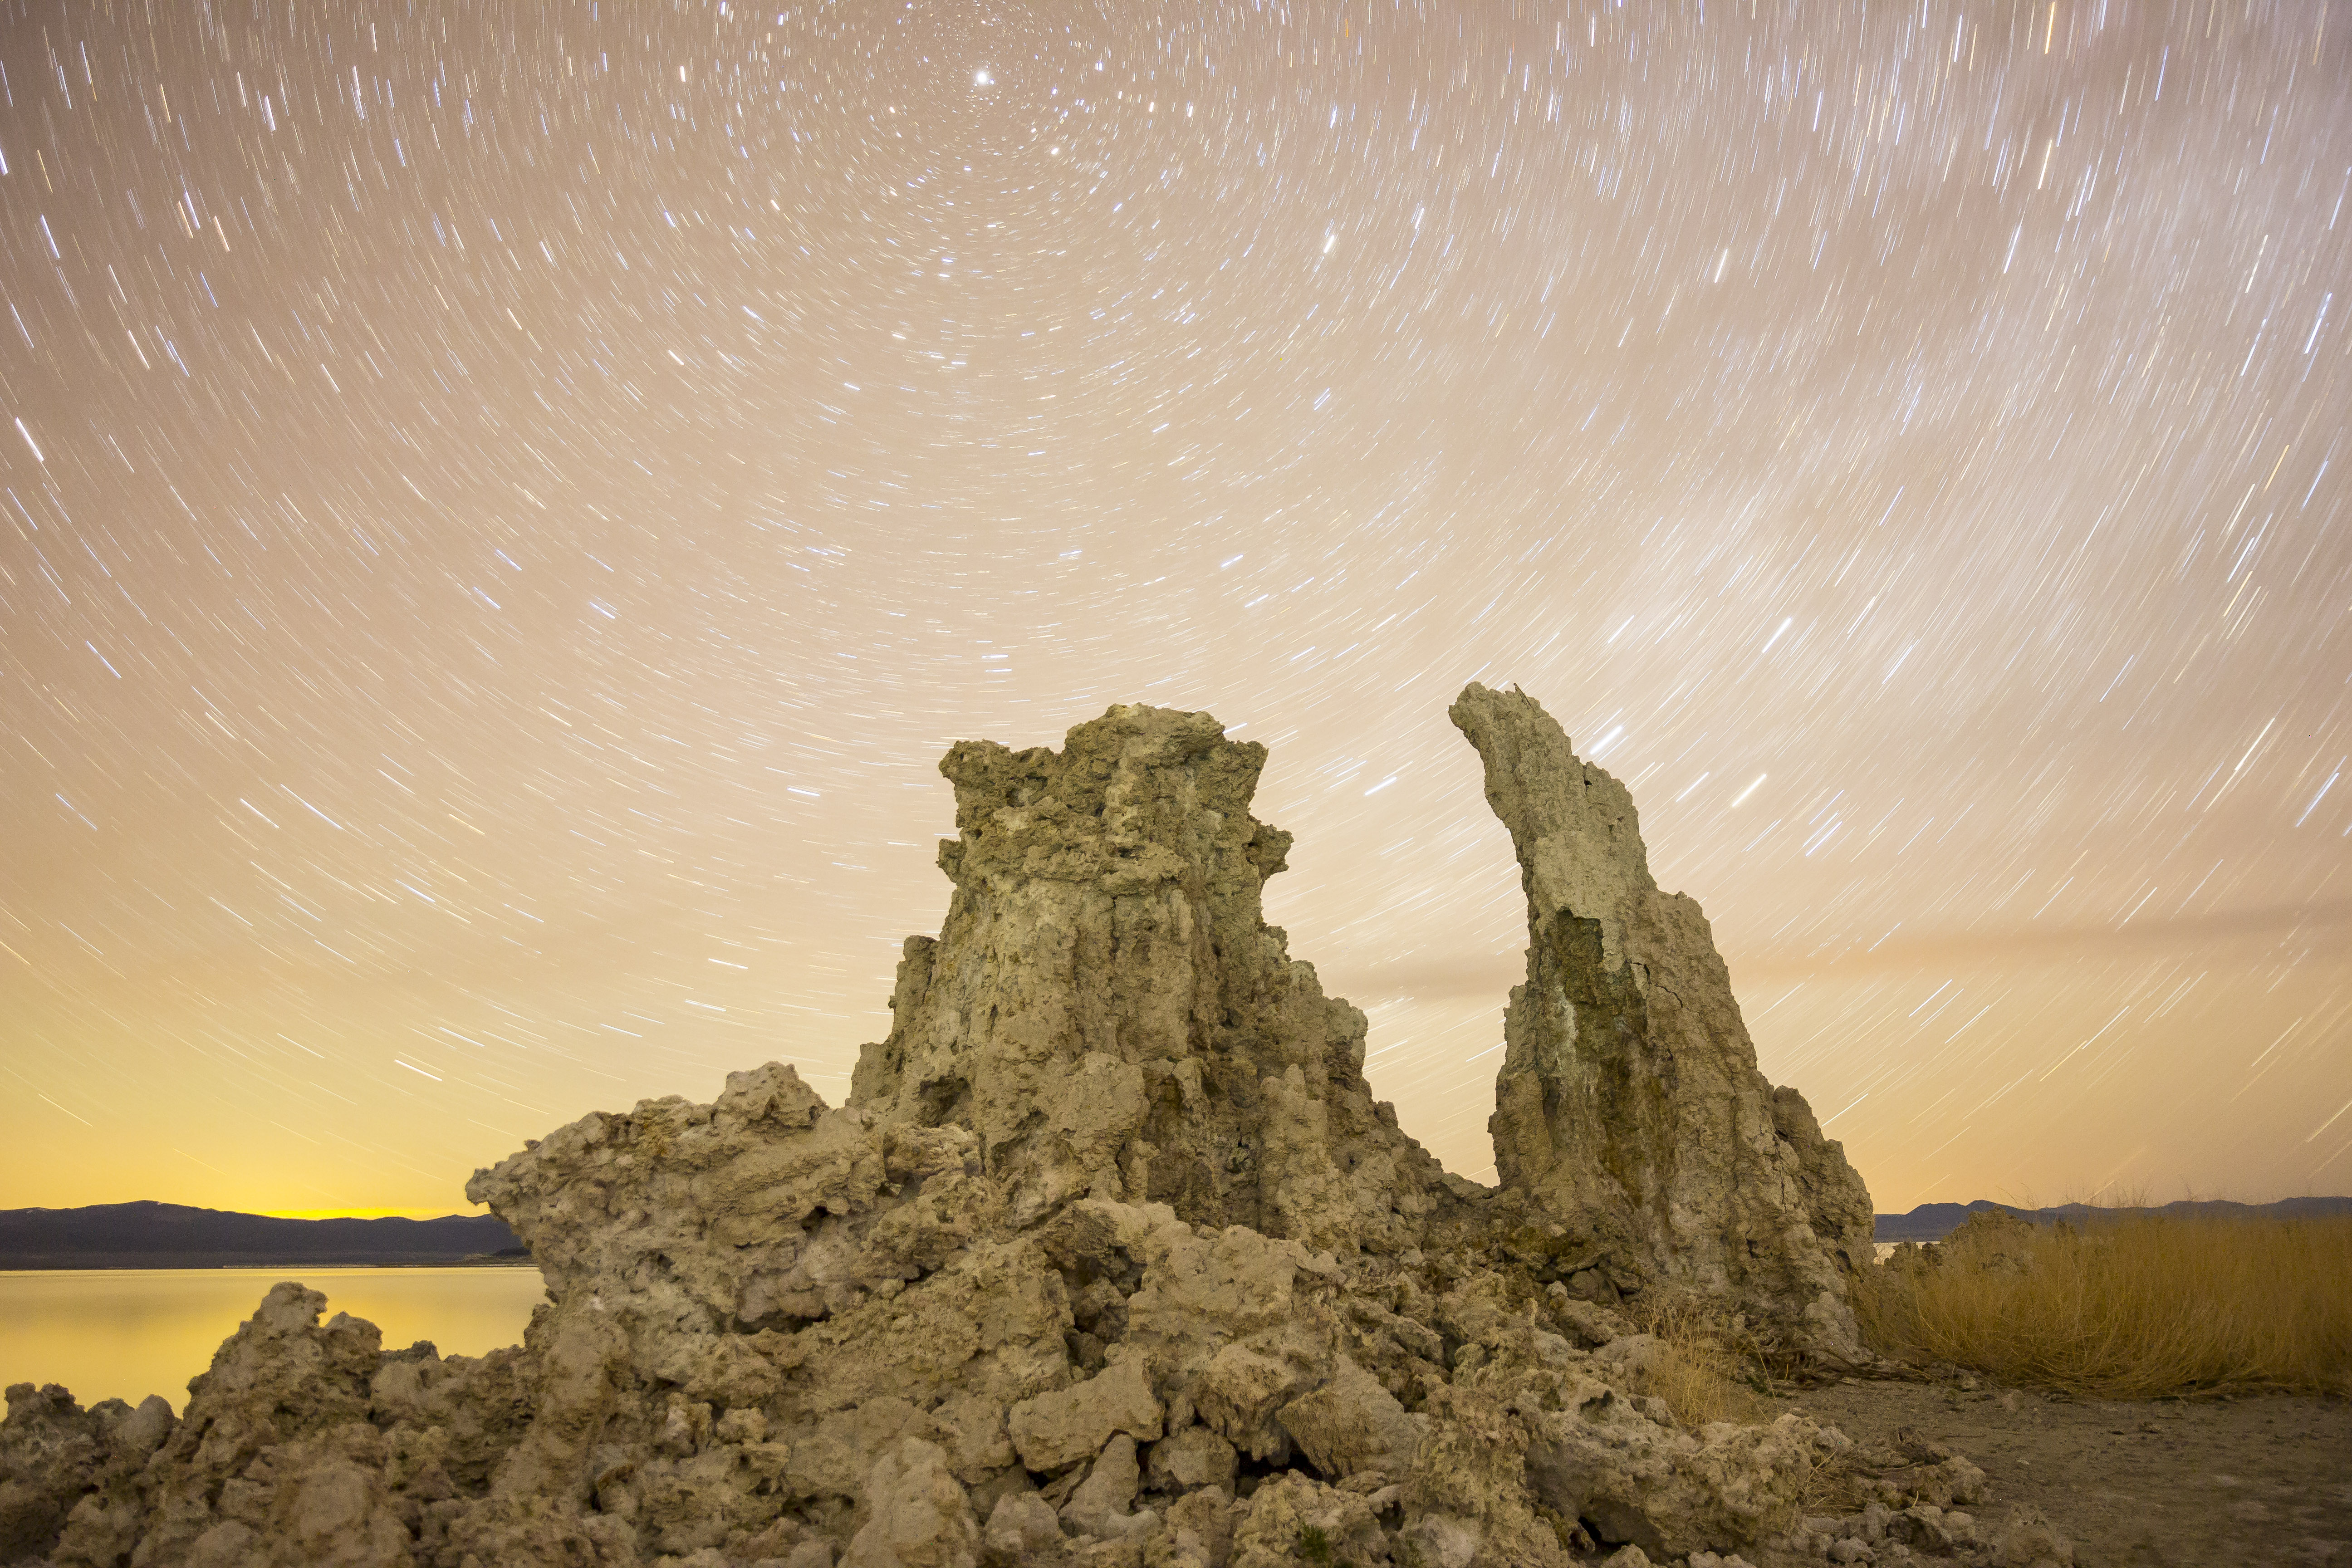
After experimenting with street photography for two weeks, I went back to the old style of landscapes that I used to post. It’s interesting to note that at this time, Instagram was really freaked out about Snapchat, who rebuffed a $3 billion dollar offer from Facebook. People were posting less and less on Instagram. “It became a place where people kept raising the bar on themselves in terms of the quality of what they had to achieve to post,” says Kevin Weil, Instagram’s head of product, “We didn’t want that.”

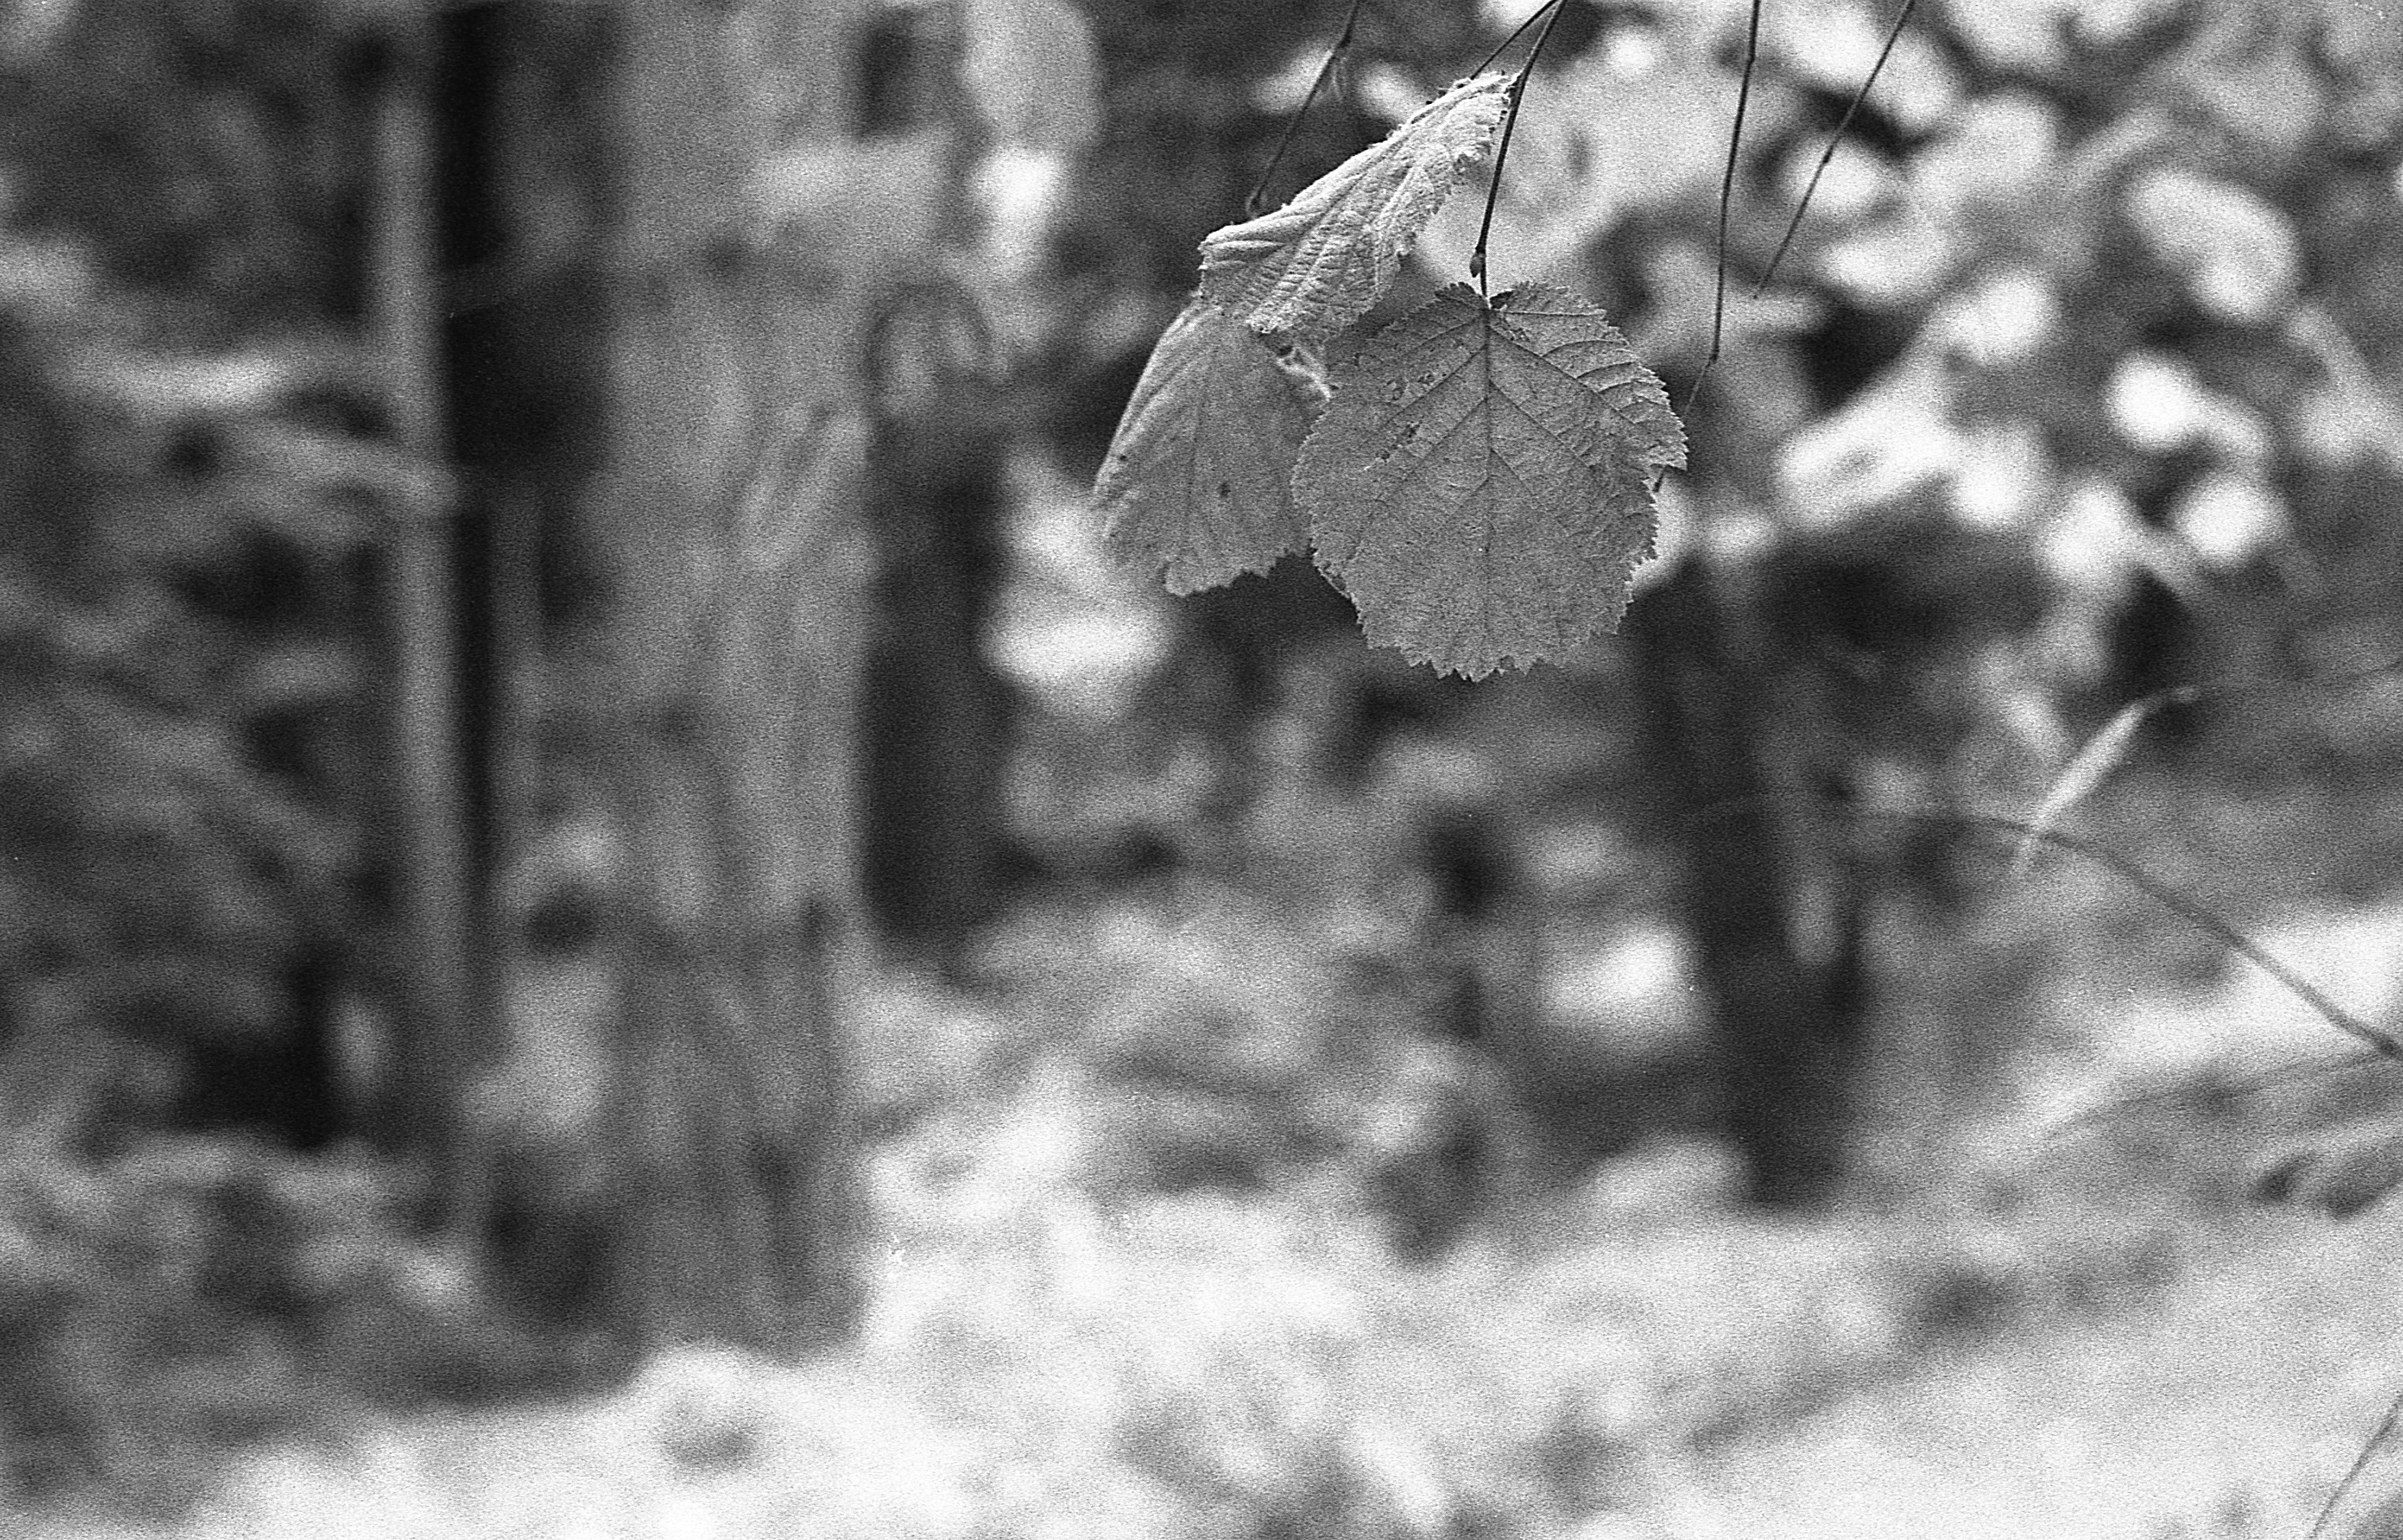
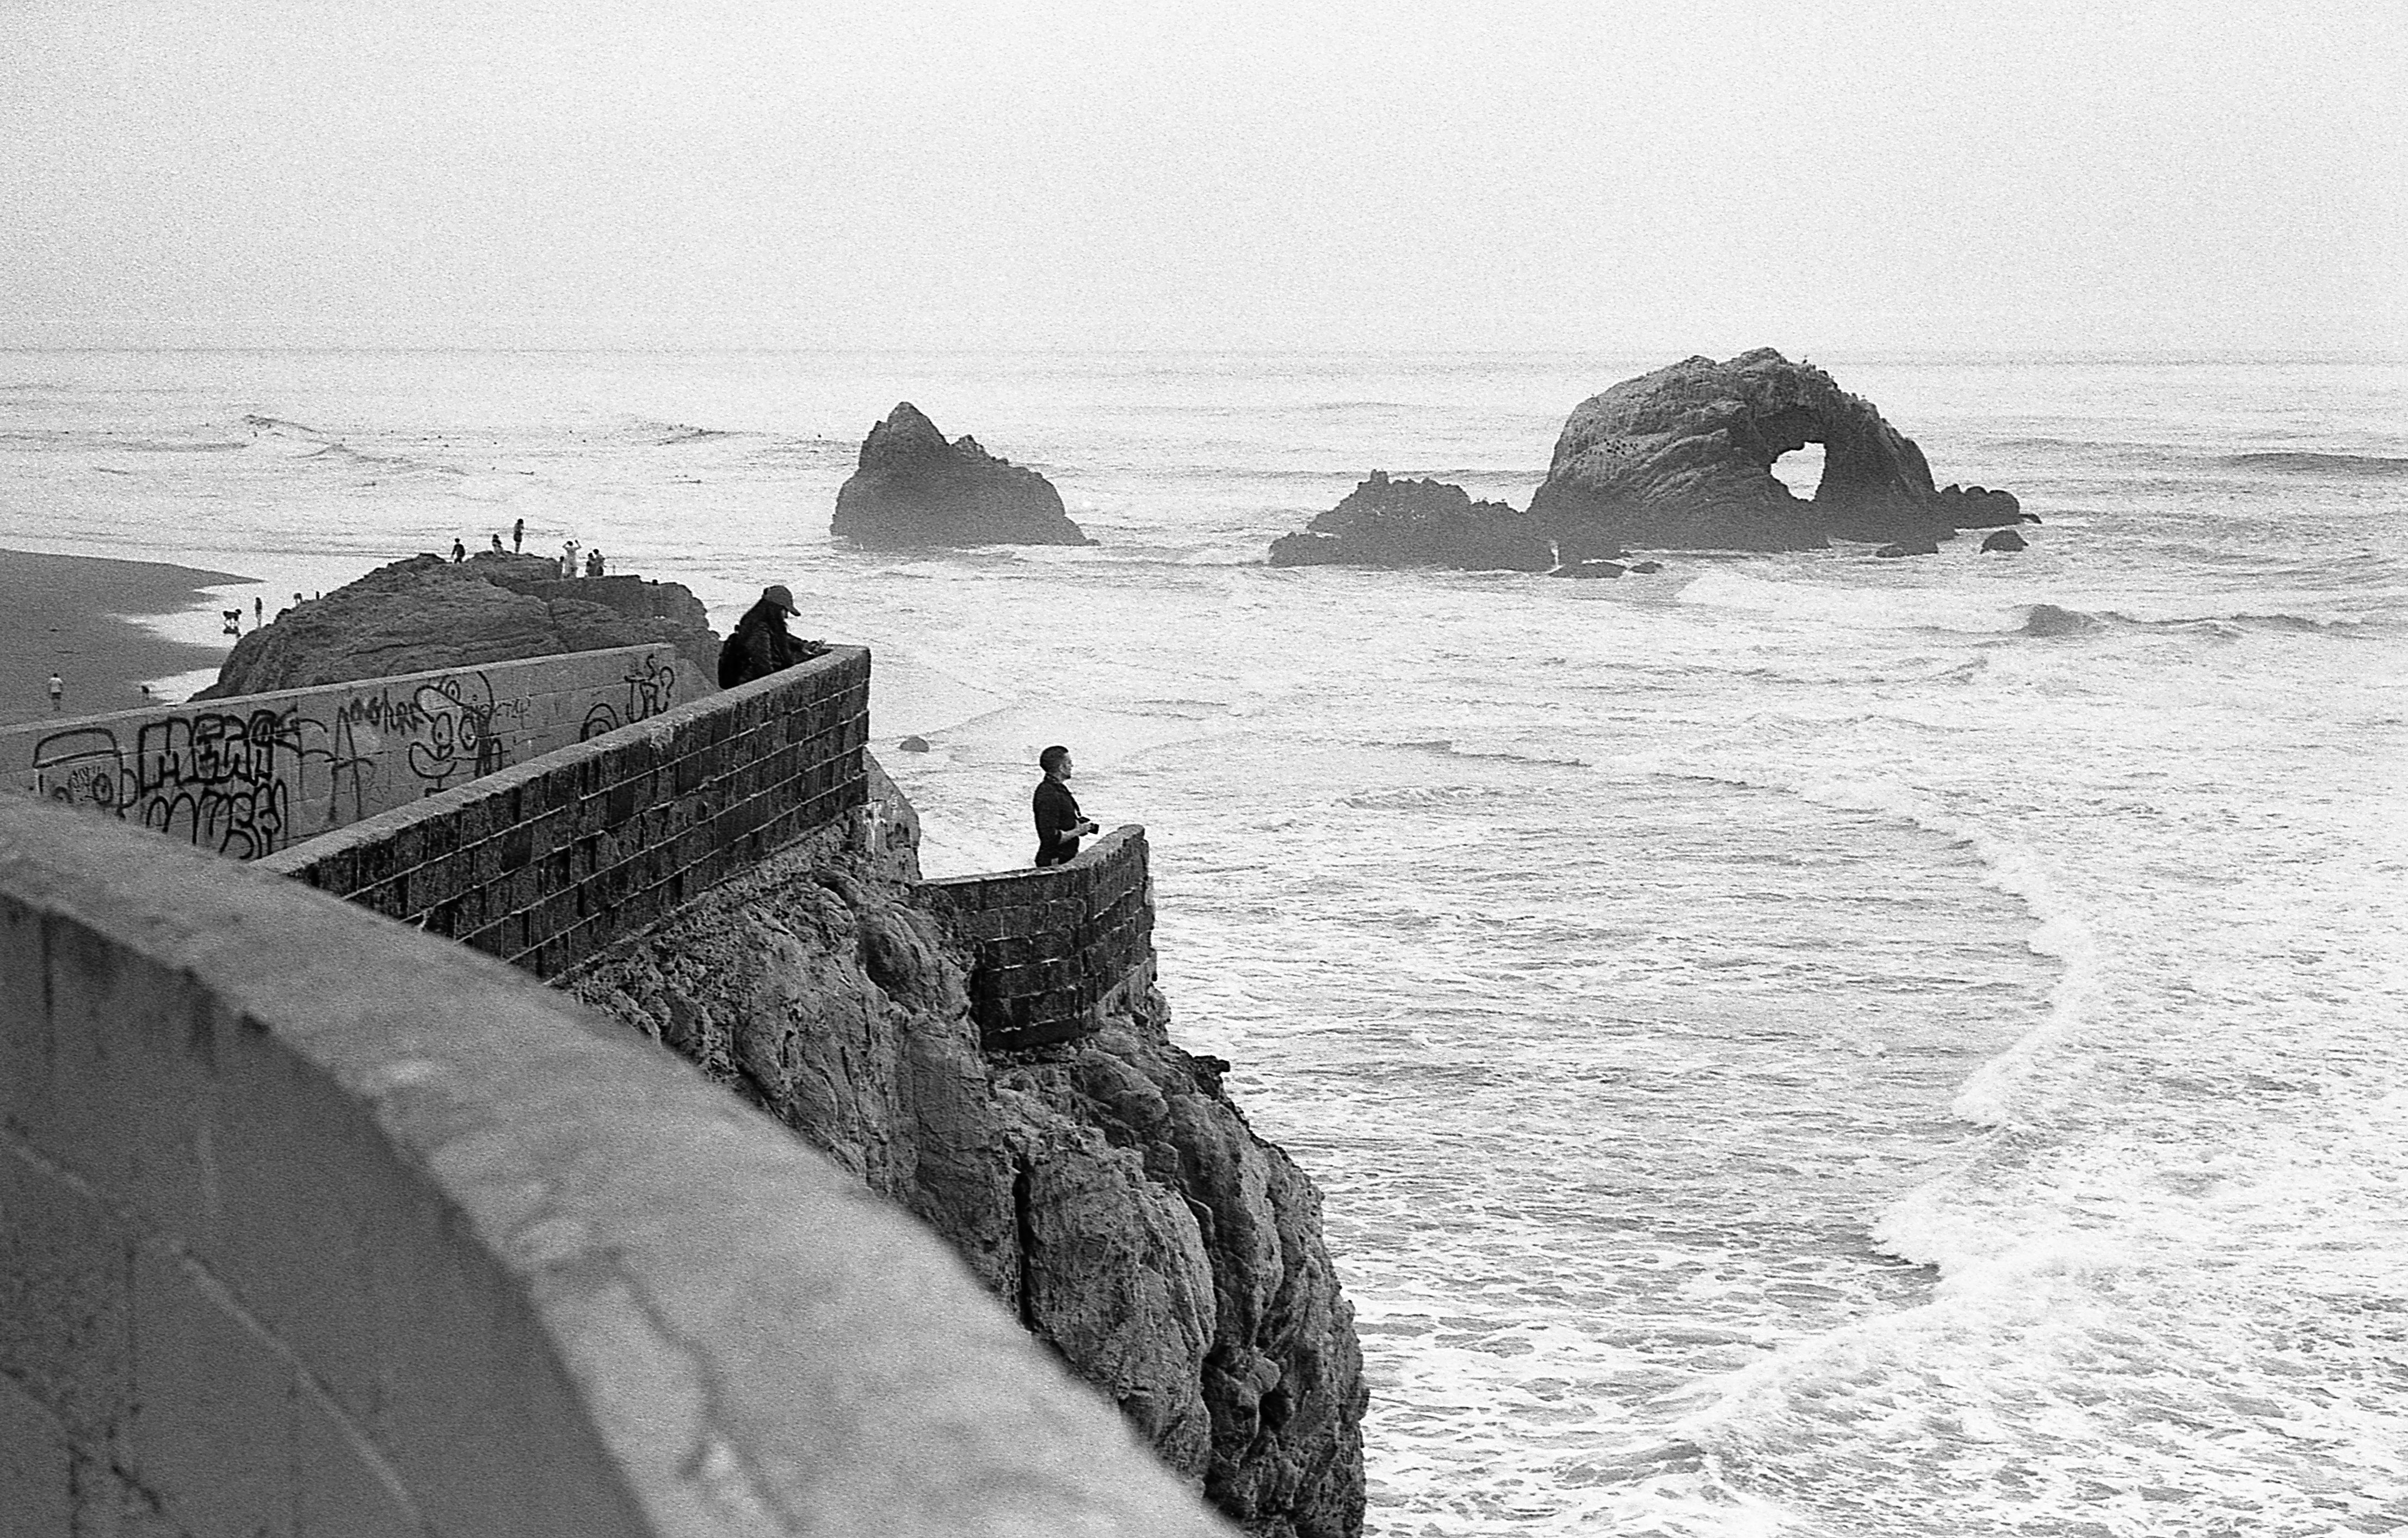
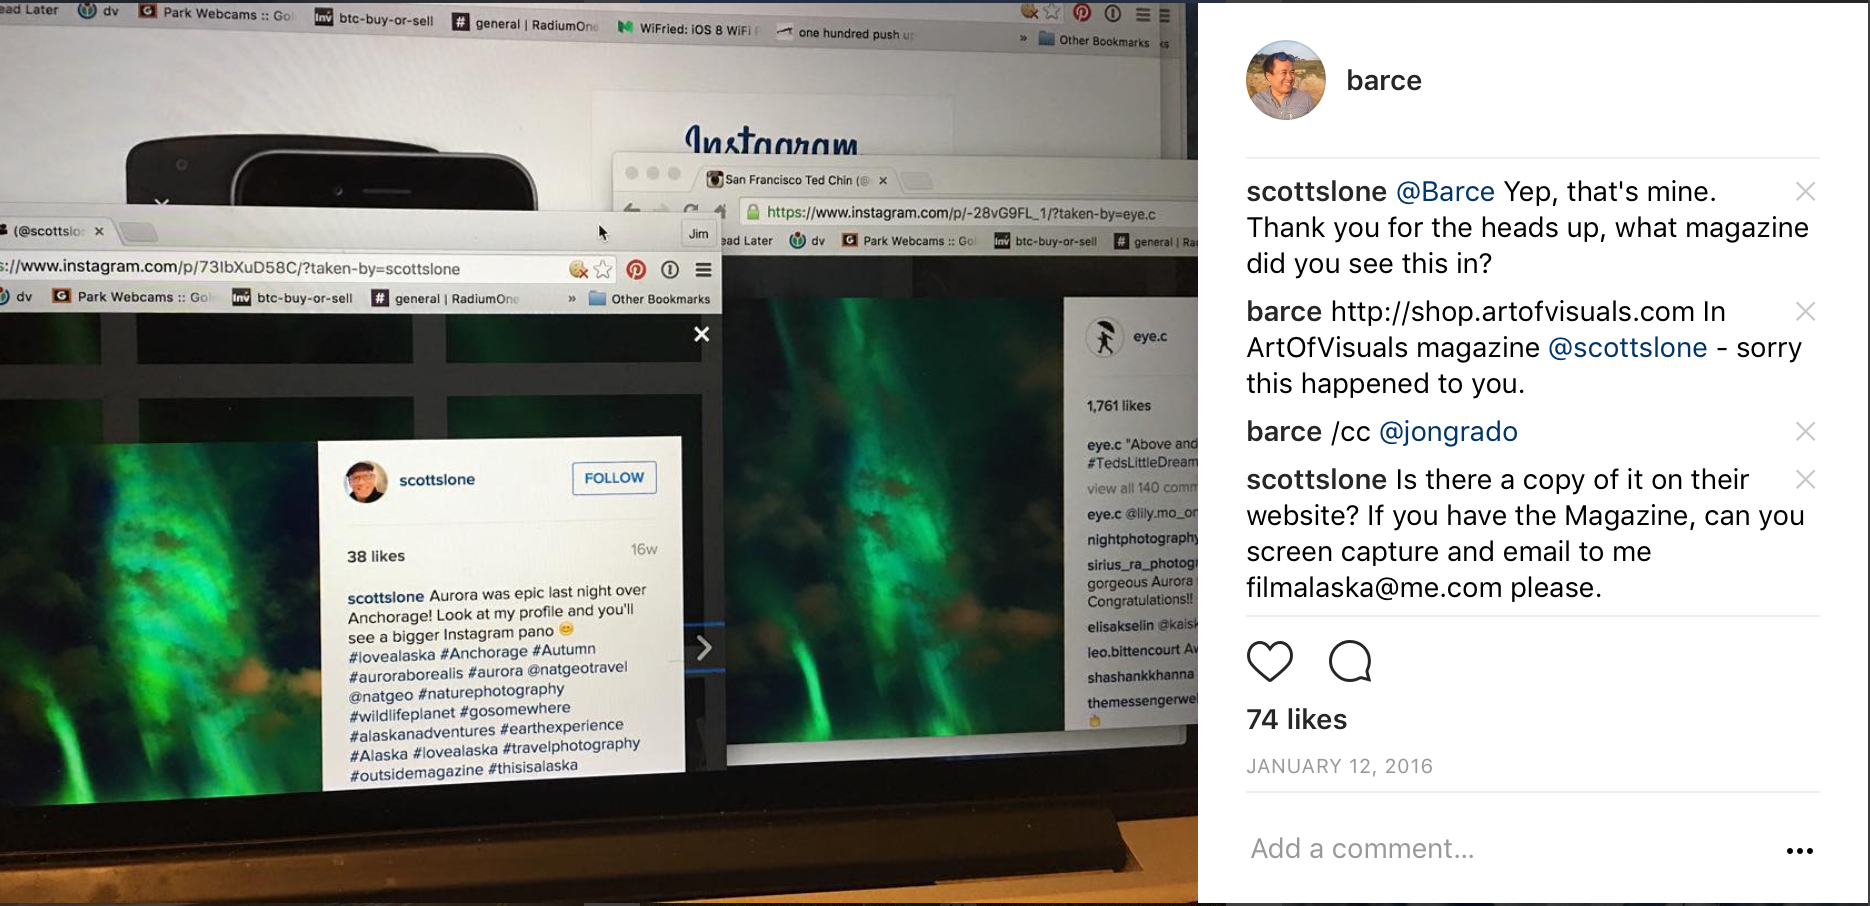
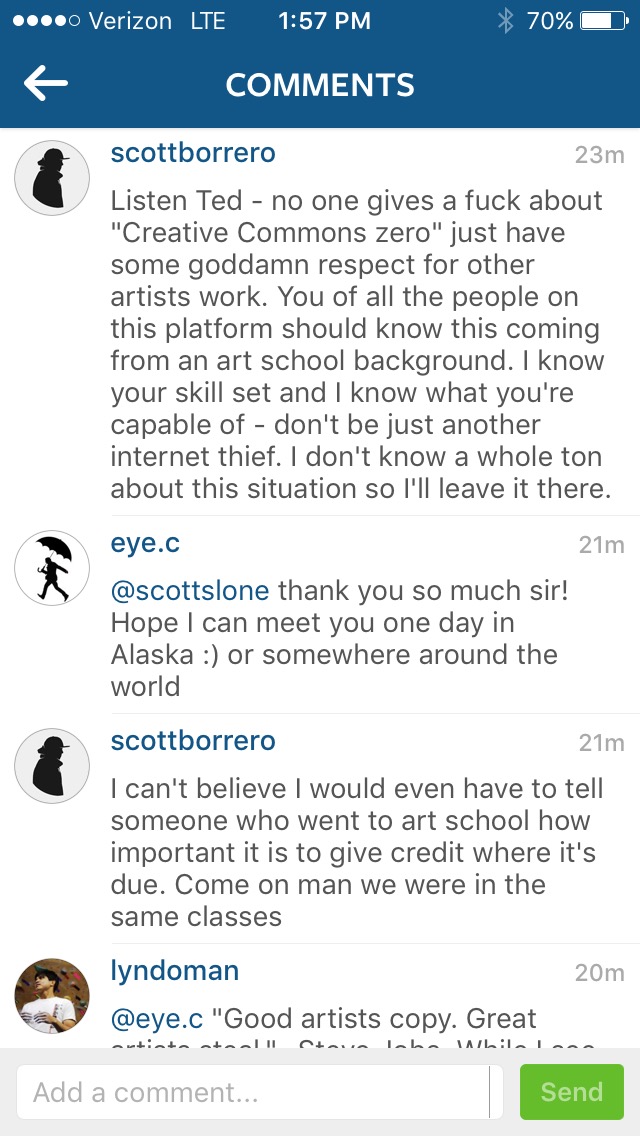
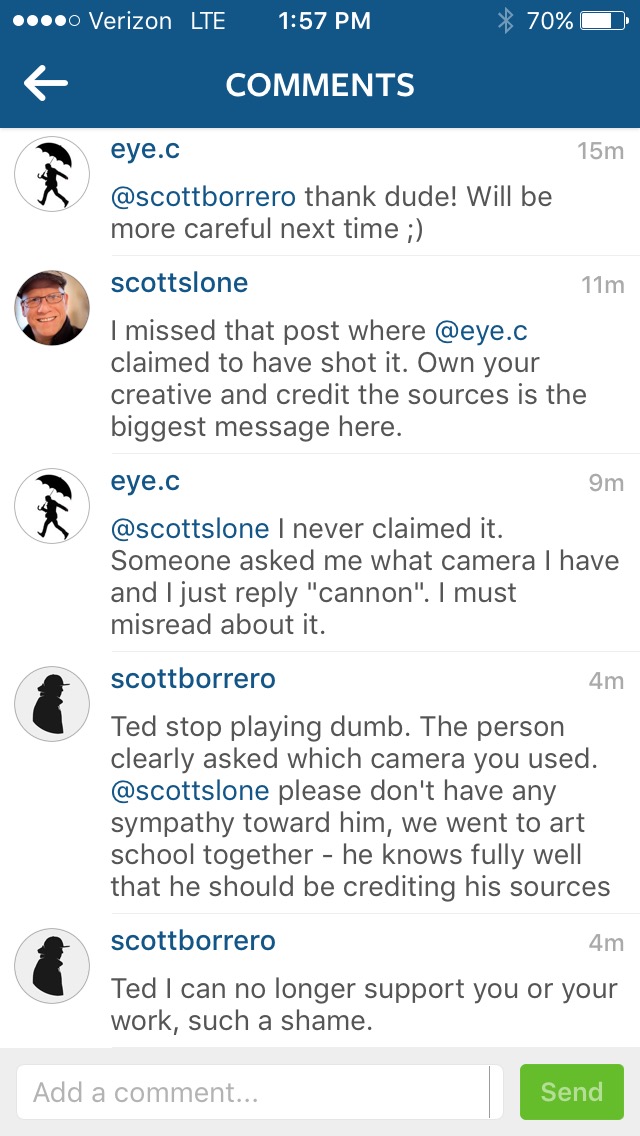
I changed my style because after a nasty fall doing photography in the rain, street photography reflected the broken-ness that I was feeling. I wasn’t only broken physically but broken in other realms of my life. I had and still have a long standing feud with a photo stealer currently running a huge community hub. This person abuses the position and the prestige as a community manager for personal gain – the Donald Trump of the photo world that threatens people that call out photo theft with police action.

Demoralized, I had nowhere to turn. Nobody wanted to shoot with me back in 2015, and it’s 2017 and I still have a ridiculously hard time finding people to shoot with. Maybe I should just isolate myself and focus on my art. Maybe life’s different at 20,000 followers I thought. Maybe it’s worth doing anything I could to get there, and my life would be different?

In August of 2016, I set about learning everything I could about marketing my Instagram account. I found an Instagram knowledge-base of sorts in Liz Dean’s InstaRevealed marketing Facebook group. Instarevealed is just one of many businesses promising account growth, and to be honest, she delivers. You basically are funneled into following their IG account, and join a Facebook group where folks share their success stories on reaching 1k, 5k, 10k followers and up. You can join a “comment pod” which has a bunch of guidelines. Comment pods are for folks like me that got betrayed by their crew, got dropped by other IGers, or never had anybody to shoot with in the first place. They grow your likes by making sure 14 people comment on your post within 15 minutes so that it grows. They are also for the shadiest people I’ve ever met on a social networking app.

Here are the motley types you will find:

1) The diva of awful photographs, who so believes they’re entitled or owed 100,000 followers, and all they shoot are pixelated, blurry photographs of the worst sort. This person will bitch in the group about not getting enough likes or that the algorithm is somehow biased against them. I’ve cursed this person out with, “Why don’t you level up your photography?”

2) The person that you thought grew their following authentically but never did. After reading this article you’ll be able to tell which of your Instagram heroes aren’t heroes at all. You’ll see them saying shots are killer for the 14 or so folks per pod that they are in that have the crappiest photos, or the photos might be decent but their comments’ enthusiasm in no way matches the photo. A photo of Grandma’s Grave will get “Killer shot dude! Lit!”

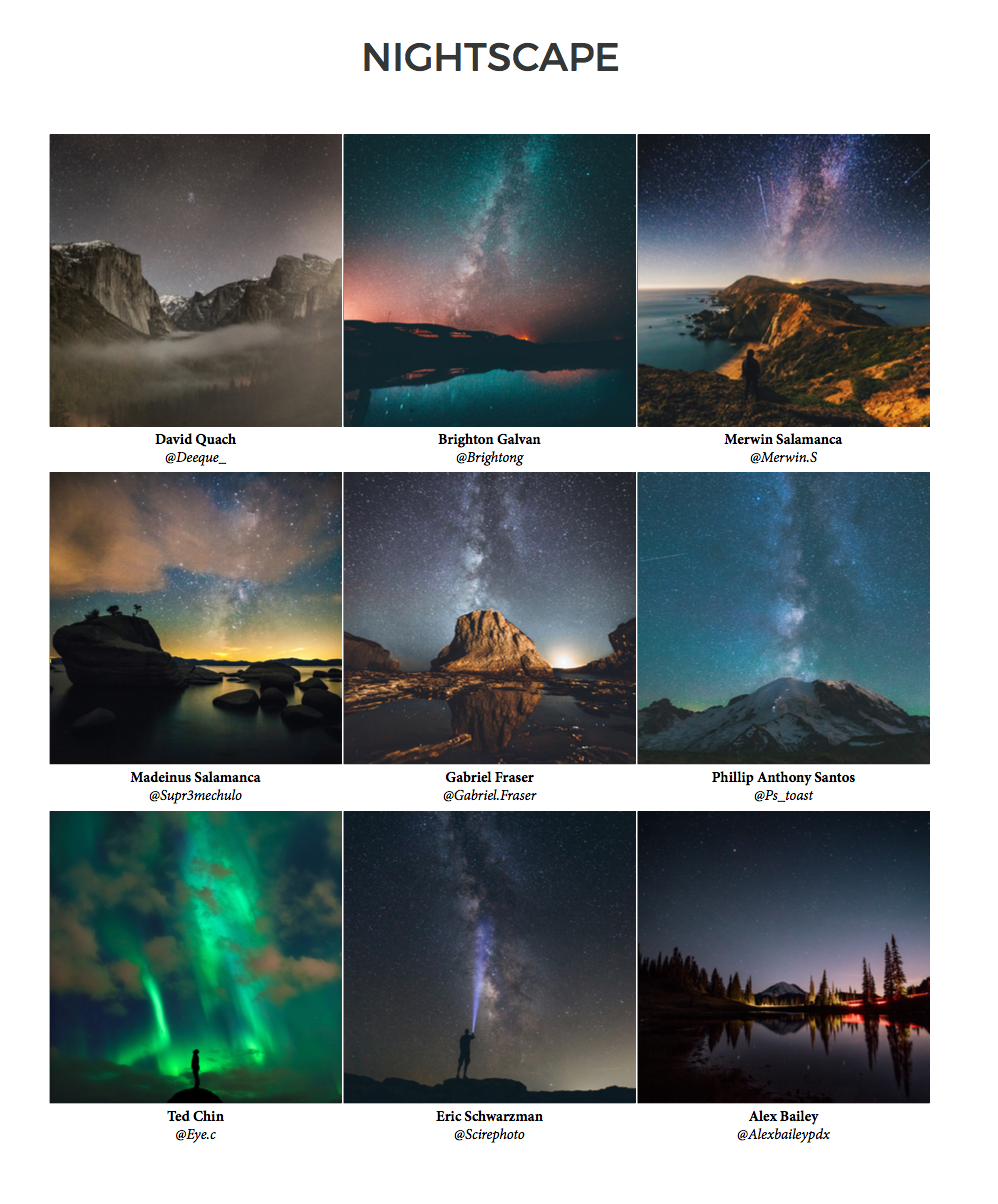
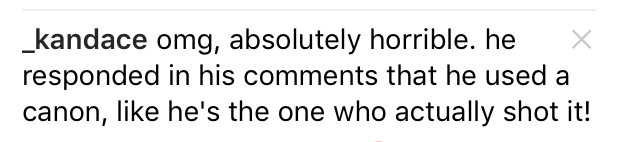
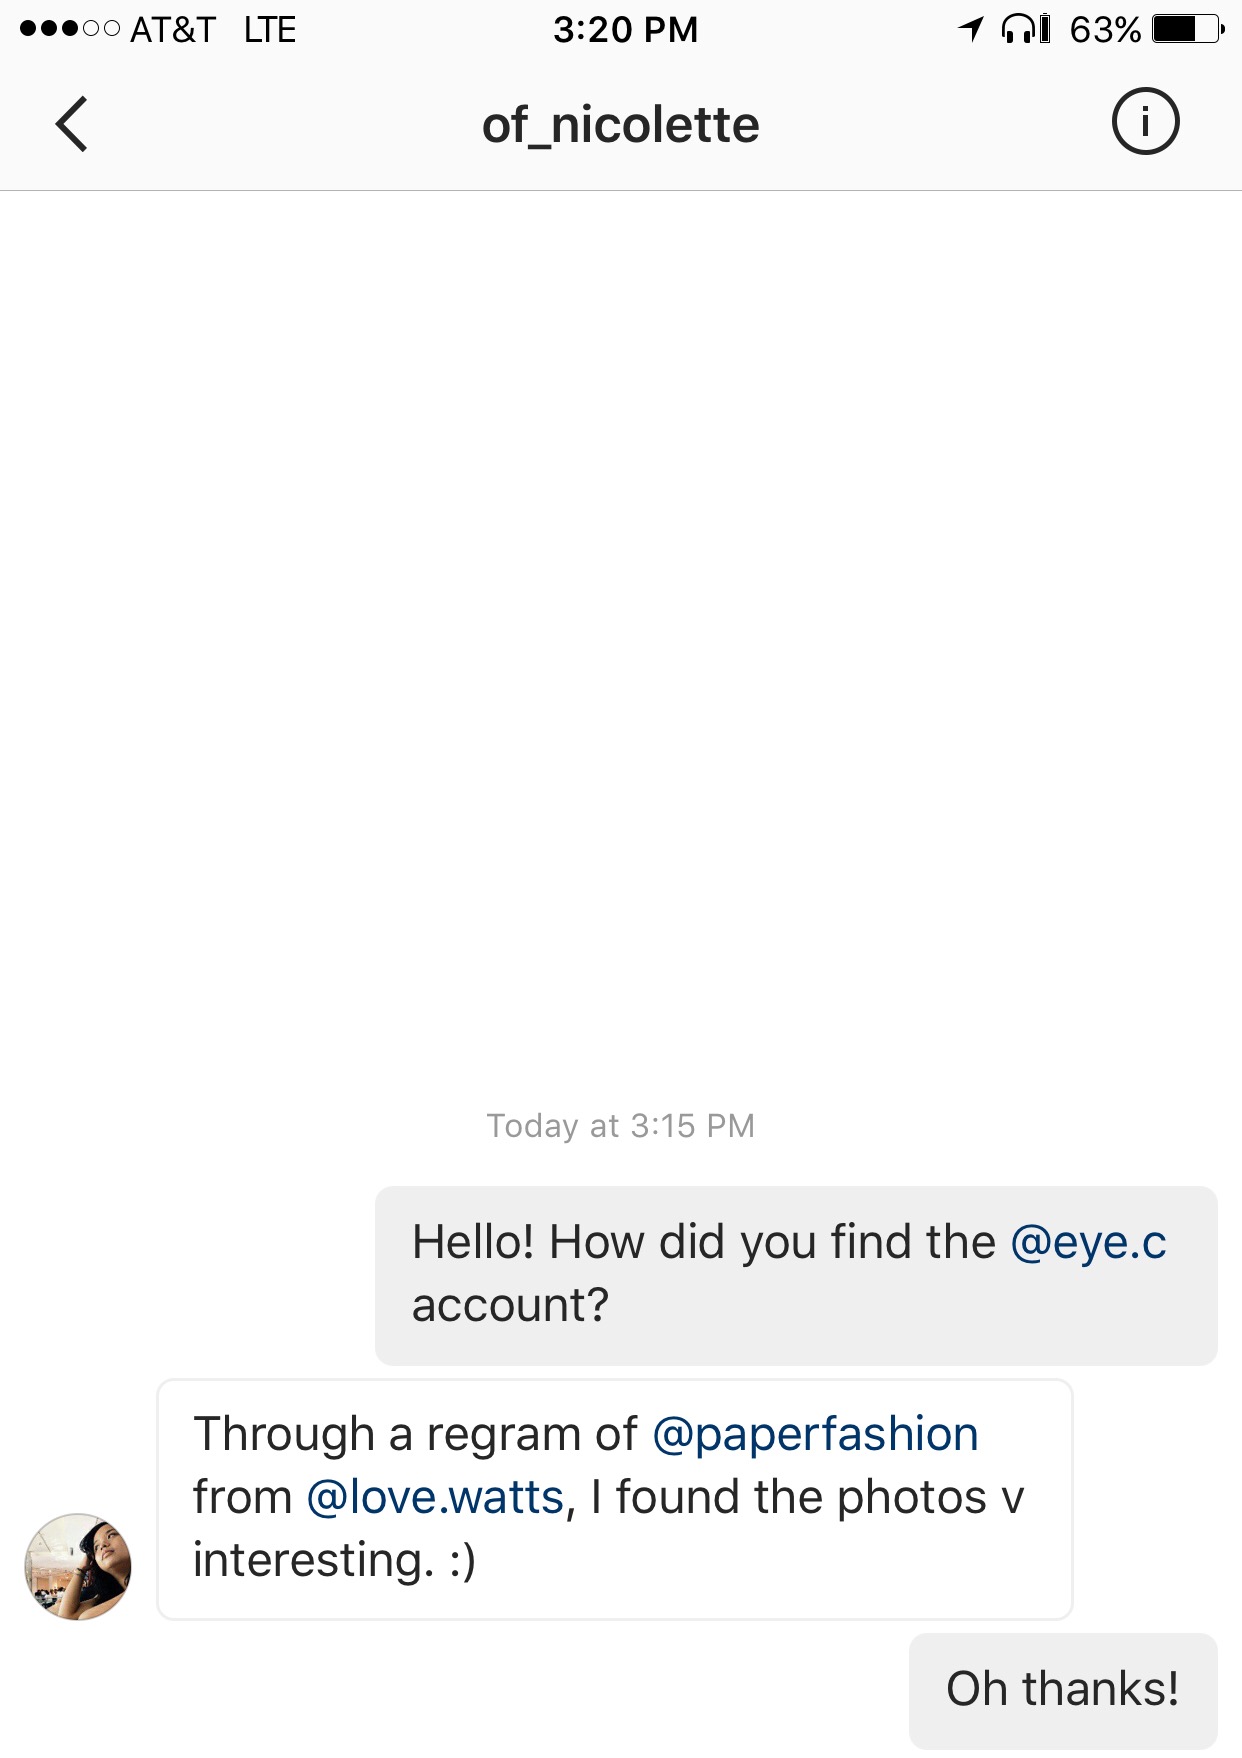
3) The photo stealer is someone in your pod who just posts photos by other people. The way they explain it is that by using purely viral photos from other people they can grow their account the quickest. This is absolutely true, and it seems Instagram HQ doesn’t care about fixing this except for a broken DMCA process.

4) Real friends. Yeah, this sort of surprised me but I met a bunch of folks that I’d actually want to hang out with.

5) Oh, and there’s me. A person who used to run a San Francisco community account, gave it to a bunch of folks to run, and got back-stabbed by them. This person was bent on some sort of way for getting justice from this but realized their ruined and sad lives were justice enough. Occasionally reporting stolen photos to Instagram and having Instagram take them down is enough.

So comment pods will get you likes, but to grow followers at a rate of 5000 or so a month, you need to do something different. I signed an NDA and so can’t go into what this is. Let’s just say I did this for 6 months, and at 20,000 followers still find myself shooting alone. There’s an automated way of doing this where you can just set it and forget it. There’s the manual way of doing this, where folks will spend 8 or more hours a day blowing up their accounts. It was truly sad seeing people game Instagram for 8 hours a day or more when they could actually just learn a bit of photography, photo editing and web development.

I decided to stop growing my account because I felt, “Hey, this is where I’d probably end up if I did become a suggested user.” I also stopped because lots of folks started spreading the false rumor that I was buying followers. Marketing for follows, and buying them aren’t the same in my book.

What I want to do now has nothing to do with marketing. Instead, I’d rather just go back to using my account the way I used to – posting whatever I want and connecting with whomever I want. Also, I want to focus on creating a photography book. After that, I eventually want to create an app, because owning your own social networking / photography app:
“It’s like a final club. Except we’re president.”

Crowd Sourced Travel with Letskedaddle

On Black Friday, instead of shopping, I decided to #OptOutside along with REI and Letskedaddle. I didn’t buy anything that day and instead decided to enjoy the great outdoors with like-minded folks at Point Reyes National Seashore.

What is Letskedaddle? It is crowd sourced travel. Assume you want to get to Yosemite on a certain date. You announce your intention on Letskedaddle and if enough people want to go on that date (at least 10), your trip and everybody else’s gets funded. It’s a cheap and more convenient alternative. It can take 10 to 12 hours to get to Yosemite if you take public transportation from San Francisco.

boarding the bus to adventure
Crowd Sourced Travel

On Black Friday, the crew I was with ended up going to Point Reyes. We boarded at REI in San Francisco and in 90 minutes were at a trailhead leading to creeks, forests and coastal views. The forest was so lush and green! It was quite the treat to get away from the city.

Lush greenery awaits!
Lush Greenery

Are you looking for a great way to get to hard to reach places with friends? Check out Letskedaddle.